
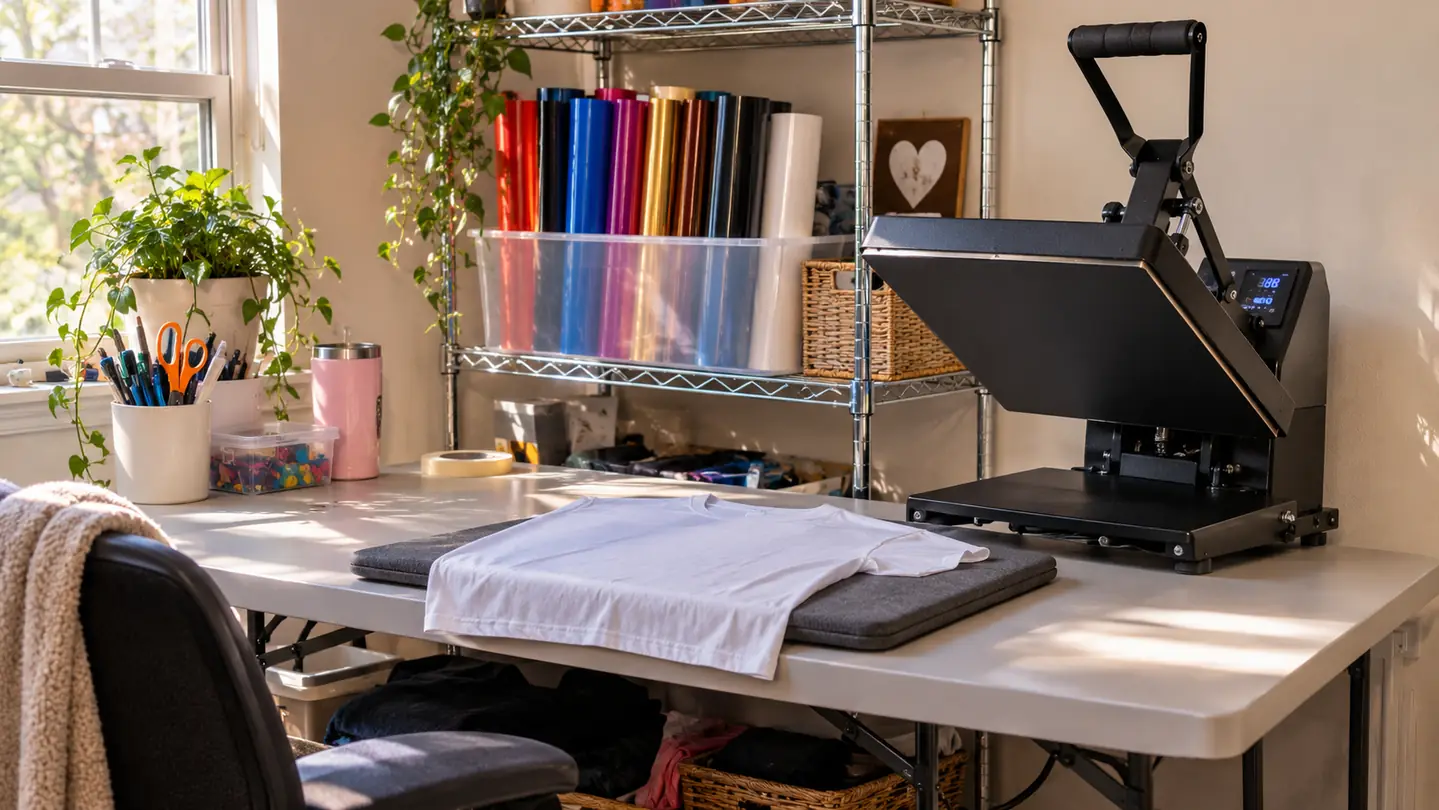
The shirt is cut, the design is weeded, and now it is lying on the mat with a sheet of clear film over the top of it, and you are afraid to touch it. I know that feeling exactly. In June I had fourteen shirts to press for our church's summer Bible school volunteers, black iron-on, and no idea how to make any of it stay on. I had never pressed iron-on in my life before that month. I am 58, I work at a folding table in my spare bedroom, and I am not a natural with software.
My first two tries were with a regular household iron. I guessed at the setting, because I had nothing to go by, and when I pulled the carrier sheet back the lettering lifted at the corners. Both shirts went into the trash and I ordered the Cricut EasyPress SE that week. It arrived in June and it has lived on the top shelf of the wire rack in that room ever since. What follows is the whole process in the order I actually do it, with a laptop open in the middle of the table and the guide in front of me.
The press that got all fourteen of those shirts done
A 12 by 10 inch plate with a ceramic surface and a 1 year limited warranty. The Cricut Heat Guide gives you the temperature and the time for your fabric, so you are not guessing at an iron dial the way I did.
Amazon Check Today's Price on Amazon →Step 1: Cut the Iron-On With the Shiny Side Down
Iron-on goes onto the cutting mat with the shiny carrier sheet facing down and the dull back of the vinyl facing up toward you. When you choose an iron-on material in Design Space, the design is reversed for you automatically, so the side that ends up against the fabric is the side that was facing up on the mat. You do not have to reason it out. Pick the material from the list, let the software handle the reversal, and load the mat.
The mat for my machine is 8.5 inches wide, and a good deal of iron-on comes on a roll that is wider than that. I trim the piece I need with ordinary scissors before it goes anywhere near the mat. Measure first. A piece that is too wide will not feed properly, and a piece that is too narrow will not fit the design you just spent an hour setting up.
While you are cutting, think about the blank you are pressing onto. A cotton shirt takes iron-on beautifully. A poly blend can take it too, but the guide will give you different numbers for it, so write down which blank you bought before you start. I press shirts that have already been washed and dried with no fabric softener, because a finish on new fabric can keep the vinyl from settling in.
Cut, then unload the mat. Do not peel the vinyl off the mat yet. Take the whole mat under the desk lamp, because weeding is next and weeding is where a good cut either survives or does not.
Step 2: Weed the Design Before It Goes Near the Shirt
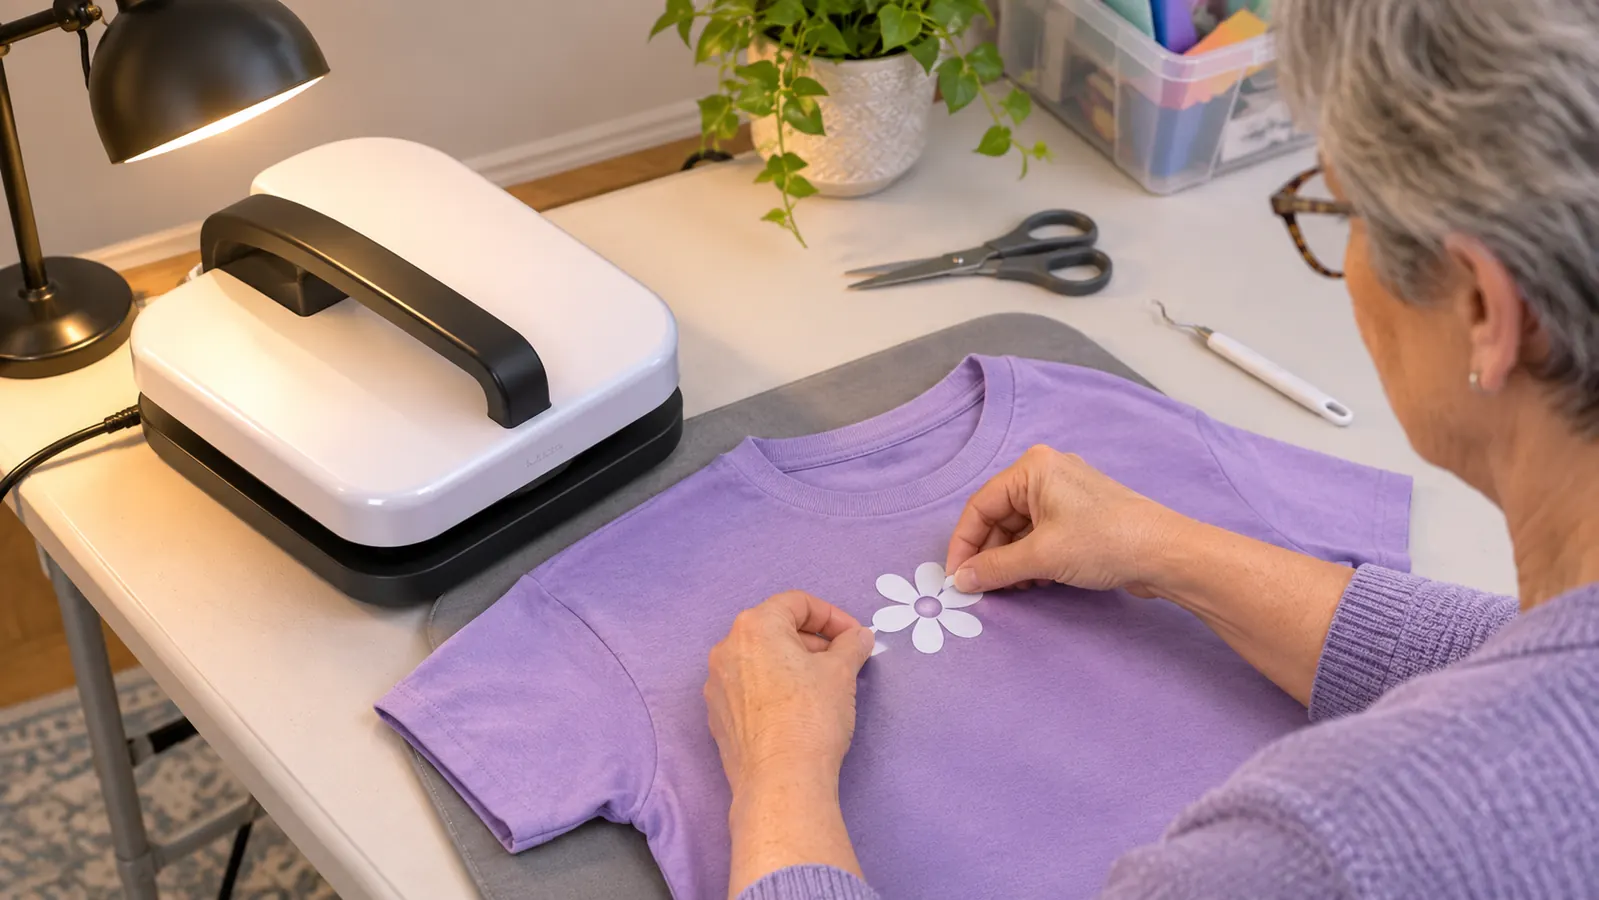
Weeding is pulling away the vinyl you do not want and leaving the design sitting on the carrier sheet. It is the slow part of the job and it is the part that decides whether a shirt looks handmade in a good way or a bad way. I do it at the left end of my table, under a desk lamp, with my reading glasses on and nothing on the radio that I have to concentrate on.
I use the hook from my tiptopcarbon weeding set most of the time, the tweezers for lifting scraps, and the loop to hold small pieces down while I work around them. The very first decal I ever cut tore because I was using a straight pin out of my sewing box. That pin went back in the drawer the same evening and I have not touched it since. The right hook costs less than a shirt blank and it makes the difference.
Work in good light and take your time on letter counters and thin script, which are where a rushed weed shows. If a small piece lifts that should have stayed, lay it back down and press it flat with the back of the hook. Check the whole design against the mat before you carry it to the press, because once the carrier sheet is on the shirt you cannot easily fix a missing dot.
Step 3: Get Your Numbers From the Cricut Heat Guide
Do not guess the temperature. That is exactly what cost me two shirts. The Cricut Heat Guide is free on the Cricut site and it asks you three plain questions: what fabric you are pressing onto, what material you are pressing, and which press you are using. It gives you back a temperature and a time. A cotton shirt and a poly blend can come back with different numbers, which is why guessing is a bad idea even for someone who has done it a while.
Write the numbers on a sticky note before you switch anything on. My laptop sits in the middle of the table between the cutter and the pressing mat, so I keep the guide open in front of me and the note stuck to the edge of the mat. On a batch of fourteen, that note saves fourteen trips back to the laptop.
The press is rated to 400 °F, which is comfortably above anything the guide has ever asked of me on a shirt. It has a 12 by 10 inch pressing surface, and I set it to what the guide says and then wait for it to heat up. That wait is the one genuinely dull stretch of the whole job. It is also the reason the finished shirt comes out right, so I use it to fold the next shirt and lay out the next design.
When the press is up to heat, set it back on its base while you arrange the shirt. That habit is the whole reason I have never burned a finger. The plate stays hot for a while after you switch it off, so the base is where it belongs any time your hands are busy.
Step 4: Press the Front, Then the Back
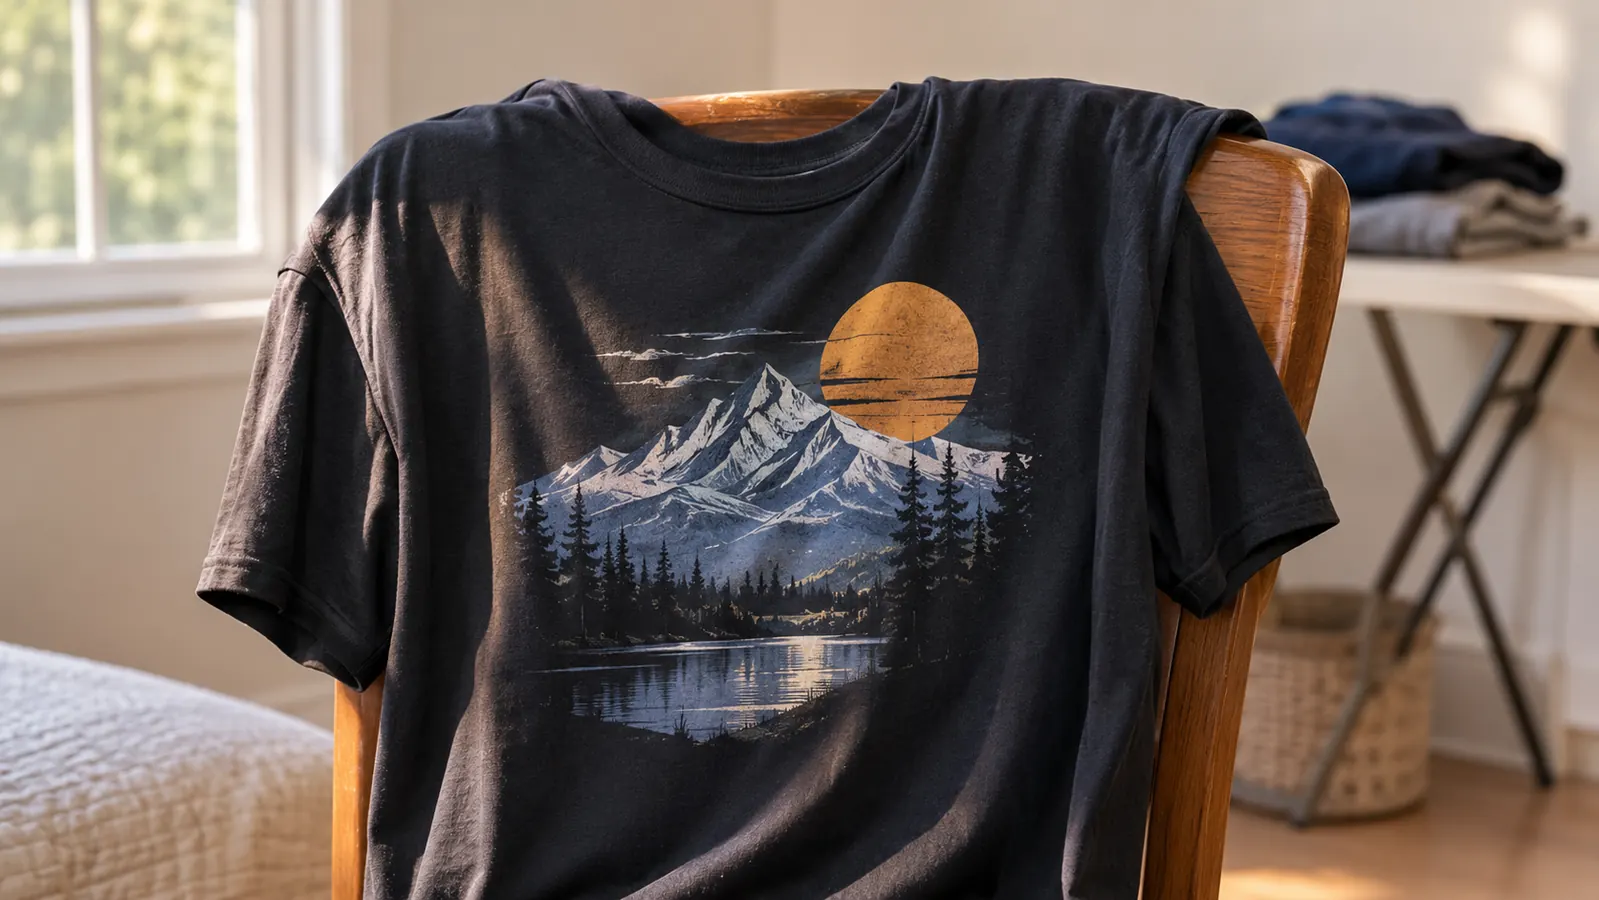
Lay the shirt flat on a pressing mat on a firm surface. A padded ironing board is the wrong surface for this, because it gives under pressure and you lose some of the downward force you are trying to apply. My six foot folding table is hard, and the mat sits at the right end of it, opposite the cutter.
Warm the shirt first as the guide directs, then lay the design down, carrier sheet up, exactly where you want it. Once the press comes down you are committed. On anything with lettering across the chest I line up the shoulders and the hem with a ruler rather than trusting my eye, because a design that is a half inch off is the first thing anyone notices when the shirt is worn.
Press straight down and hold for the time the guide gives you. Then lift, turn the shirt over, and press the back for whatever time the guide specifies for that. A handheld press like the Cricut EasyPress SE is a flat plate, not a clamshell, so anything larger than a shirt front gets done in sections. I have pressed one canvas tote and two pillow covers for my neighbor Ruth, and the tote took two placements while each pillow cover took one.
Keep your weight over the handle and press down rather than leaning sideways, and set the press back on its base between passes. I have never scorched a shirt and I have never burned myself, and I put both of those down to the base and to following the guide instead of improvising.
Step 5: Peel the Carrier Sheet Back and Look at the Corners
Peel slowly and peel at an angle rather than pulling straight up. Whether you peel while it is still warm or after it cools depends on the vinyl you bought, and the pack or the guide will tell you which. The generic black pack I used for the church shirts peels warm, so each shirt came off the mat and got peeled right away.
Look at the corners first. Corners are where a press shows its work. If a corner has lifted while the carrier sheet is still warm, lay the sheet back down, put the press back on that spot, and give it the full time in one go. Do not peel and press and peel and press in little nudges. One proper press is better than four nervous ones.
Then let the shirt lie flat until it is completely cool before you fold it or stack anything on it. I laid all fourteen out in a single layer across the spare bed, which is not an efficient use of a bed, but nothing stuck to anything else and nothing creased where the design sits.
What Else Helps
A pressing mat, a hard table, and a ruler will do more for how the finished shirt looks than any setting on the press. The mat handles heat and padding, the table gives you something to press against, and the ruler keeps the design straight. I keep my weeding hook and a small pair of scissors within reach so I am never walking around the room holding a hot plate in one hand.
Keep the guide open and keep a note of the numbers. If you are doing a batch, press all of one fabric type together rather than switching back and forth, because every change means a wait for the press to settle at a new setting. I also keep an old gift card on the table, which I use for rubbing transfer tape down when the job is a decal rather than a shirt.
One note that saves people a ruined blank: iron-on is for fabric. It does not go on a tumbler, a mug, or a plate, no matter how good the design looks in your head. And a shirt that has been sitting in a drawer or worn once wants a fresh press over the whole area before the design goes down, because a little moisture under the vinyl is the usual reason a corner lifts a week later.
Fourteen shirts, pressed one at a time on a folding table, and every one of them came off the mat with the corners down.
Stop guessing at the setting and press the shirt once
The EasyPress SE gives you a 12 by 10 inch plate and a ceramic surface, and the Cricut Heat Guide gives you the numbers for your fabric. That is the whole method behind a stack of church shirts and a few for the fall fair.
Amazon Check Today's Price on Amazon →