
The first two shirts I put iron-on to were pressed with the iron from my hall closet, a black design, and a guess about the setting. I peeled the carrier sheet back and the lettering lifted at the corners. Both shirts went in the trash. I ordered the Cricut EasyPress SE that week, back in June, and everything I have pressed since has gone through it.
Five months later it sits on the top shelf of the wire rack in my spare bedroom, above the vinyl. It is not a wonder of engineering. It is a ceramic plate that gets hot, holds a temperature for a set amount of time, and asks you to lean on it with both hands. What it does is take the guessing out of a job I had been doing badly with a household iron. That is a smaller promise than the box makes, and it is the one that matters.
The Quick Verdict
Slow to come up to heat and no use on anything bigger than a shirt front, but five months of shirts, a tote and two pillow covers have gone through it with nothing scorched.
Amazon Check Today's Price →The fix for lettering that lifts at the corners
Same plate, same published settings, every time. That is the whole pitch, and at my table it has been enough.
Amazon Check Today's Price on Amazon →How I've Used It
The reason I bought it was fourteen shirts. My church runs a summer Bible school, and the volunteers wanted to match. I had the vinyl, I had the little cutter, and I had an iron I assumed would carry the load. Fourteen shirts does not sound like much until you are standing at an ironing board counting in your head and hoping the count comes out right.
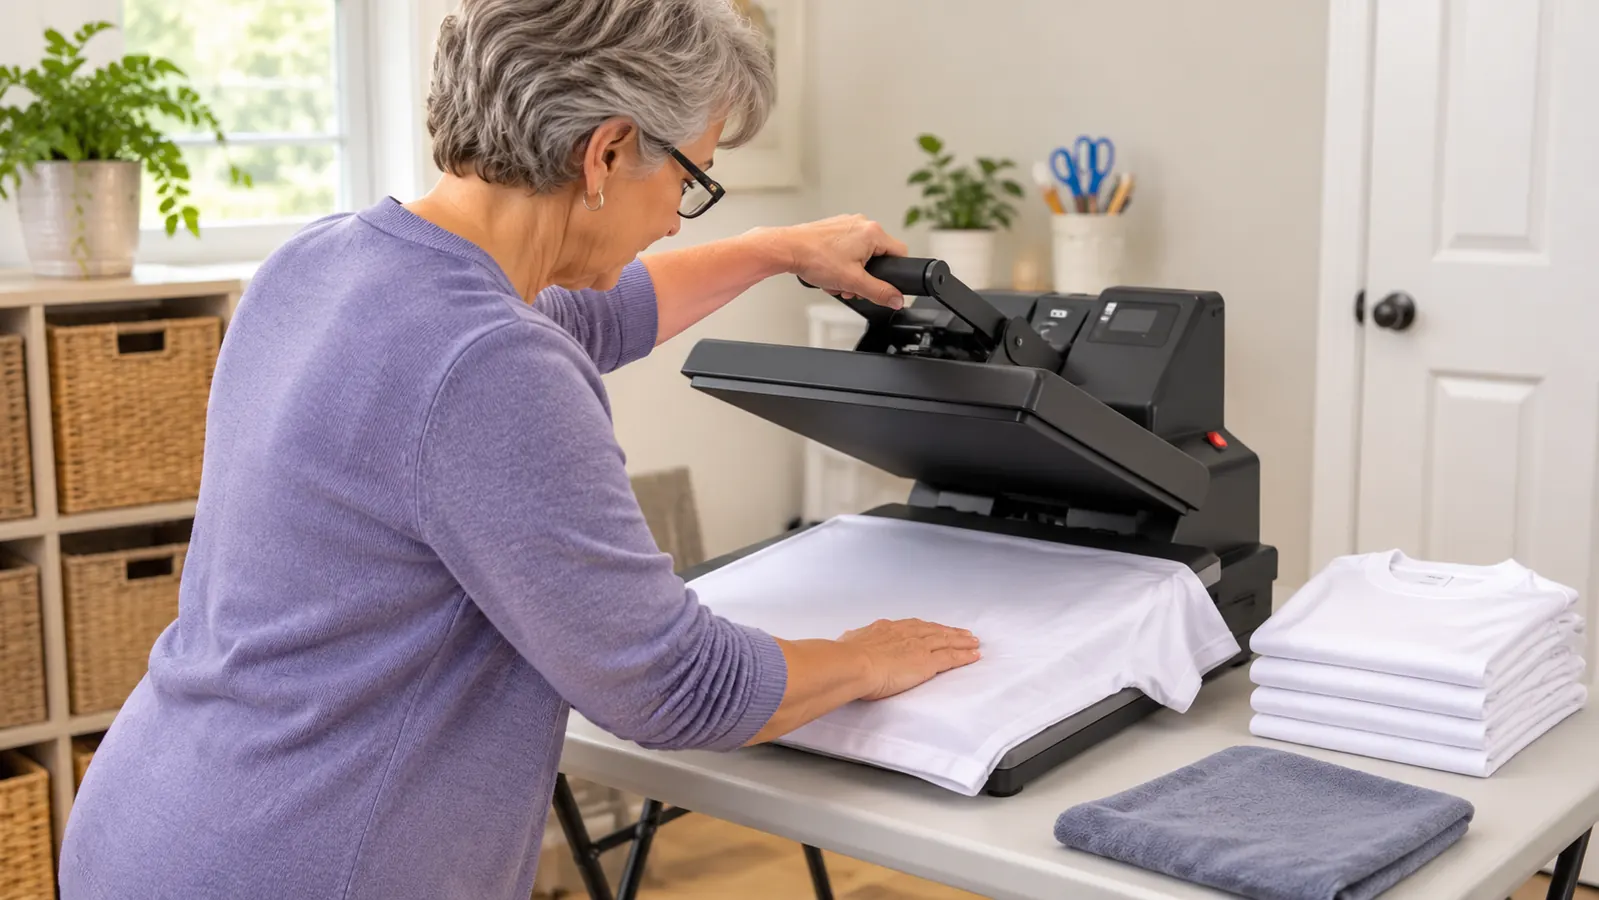
The shirts came in a stack on the spare bed, sorted by size, and I pressed them one at a time at the right end of the folding table. My method was plain. Lay a shirt flat on the mat and smooth it with the flat of my hand until nothing was bunched under the design. Set the press down, lean on it, count the number the guide gave me, lift, and peel the carrier sheet back while the plastic was still warm. The finished shirt went onto the bed and the next one came over. By the middle of the stack I had a rhythm and did not have to think about the order of things anymore.
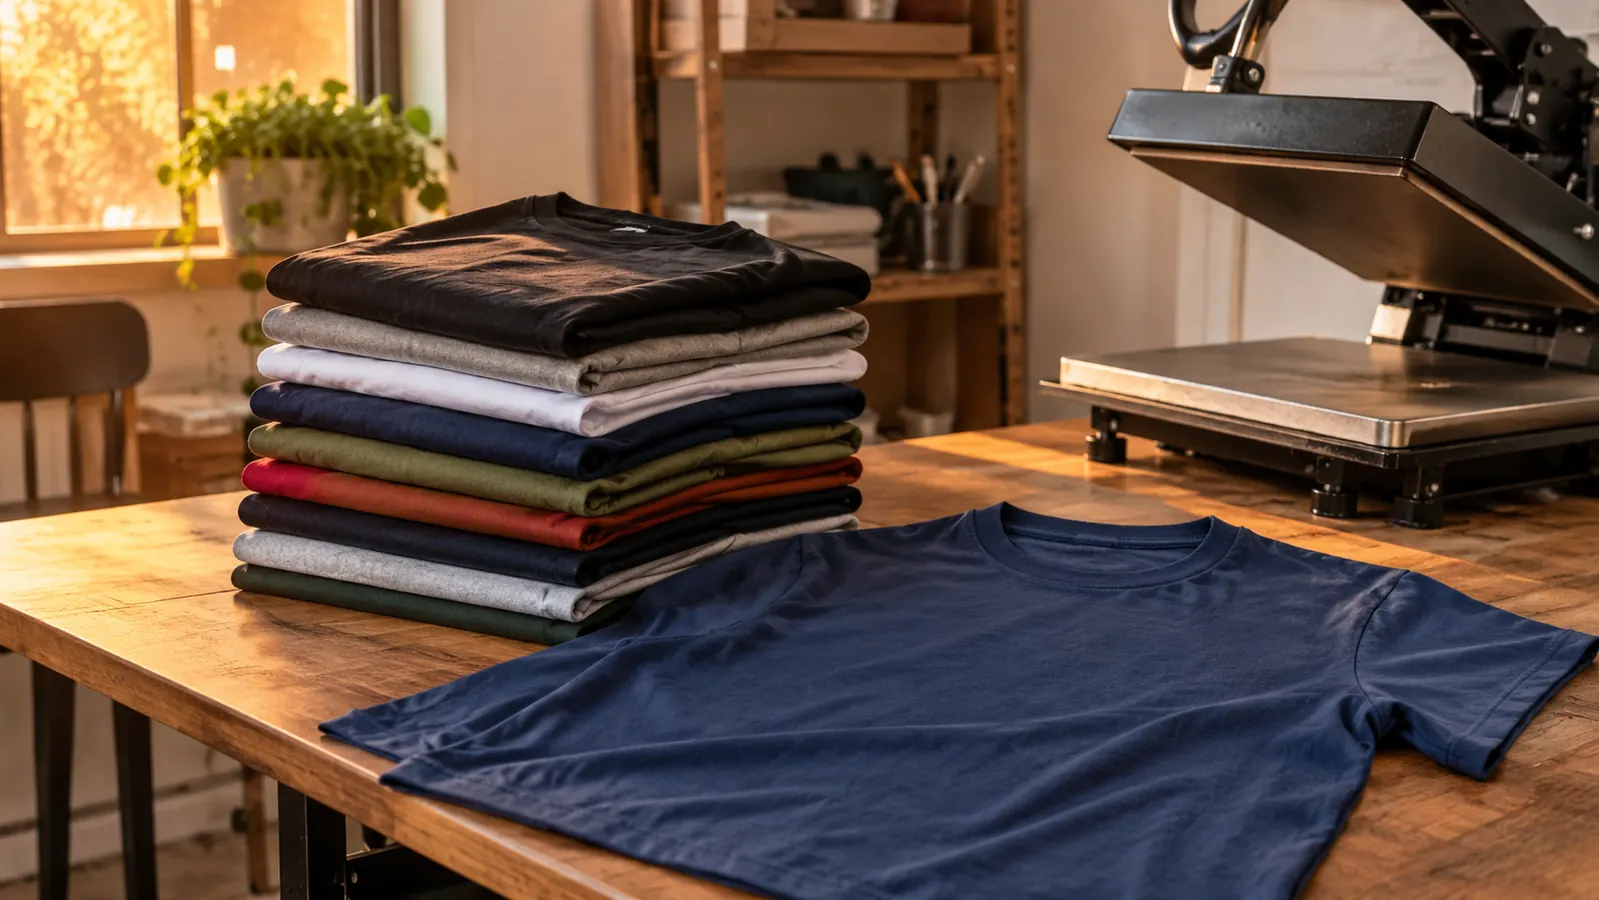
The press went through all fourteen that afternoon. Black iron-on on cotton, one shirt after another, no scorching and no lifting. Fourteen is not many shirts in the life of a machine, but it was a stack I had been dreading three weeks earlier, and it took me one afternoon at one table.
The canvas tote came after that, and it is the fussiest thing I have pressed. A tote has a gusset, so the sides will not lie flat, and I set the design in two placements and lined the second one up by eye. It came out straight enough that I carry it to church myself. The two pillow covers for Ruth next door were easier, flat panels, one design each. Those are the jobs this press was built for and you can feel the difference.
A few shirts for the fall craft fair in the church hall are the only other pressing this machine has done. That is the whole list. It is not a busy tool here. A few projects a month, and some weeks it never comes off the shelf at all, which is why I am writing this five months in rather than five days.
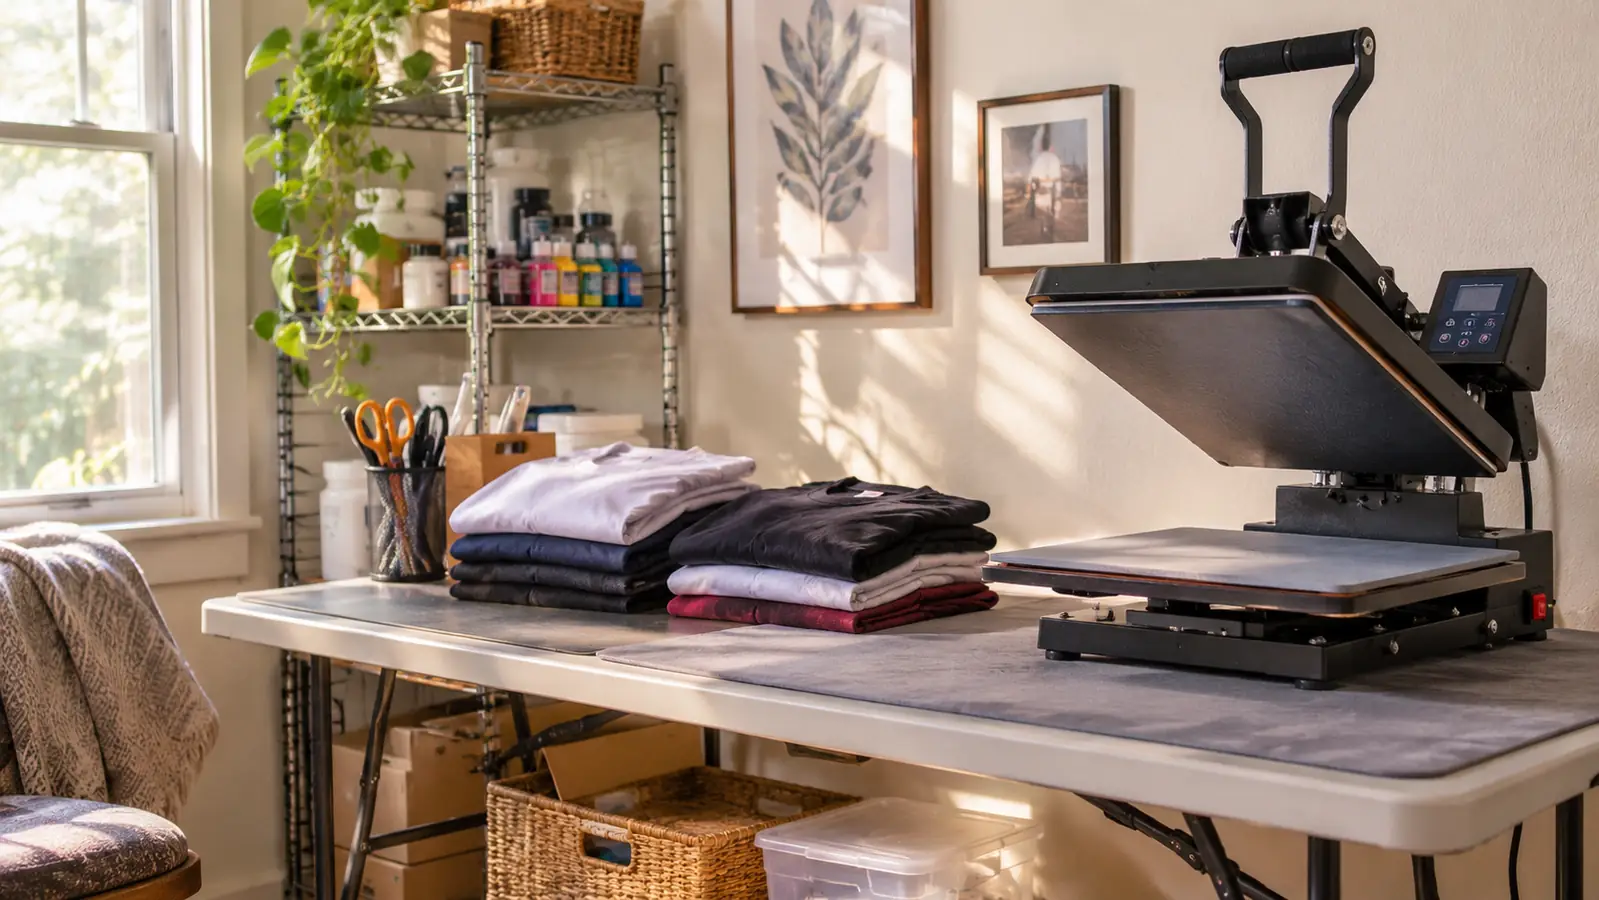
Everything happens at one six foot folding table in the spare bedroom. The laptop sits in the middle of that table, the cutter at the left end, the pressing mat at the right. The press lives on the wire shelf and comes down when there is work for it. It has never left the room, and I have never once wished it somewhere else.
What the Plate Actually Does on a Shirt Front
The plate is 12 inches by 10 inches. That covers an adult shirt front and swallows a child's shirt whole. It is a handheld unit, so you lift the whole thing and set it down rather than pulling a handle on an arm. That one detail shapes everything about how you work with it, and it took me a couple of shirts to stop fighting it and start using it the way it wants to be used.
Because you set it down, you work in sections on anything with size to it. Press, lift, shift, overlap, press again. On a shirt front that is one placement and it goes quickly. On a tote gusset or a curved seam it is fussier, and you are lining pieces up by eye and hoping the joins close. Flat and simple is where this thing is happy.
The unit measures about 13.7 inches front to back and 11.5 inches tall, so it is not a small thing to handle. I press with both hands on the top and my weight through my arms, which is what the job wants anyway. Standing over it for a whole stack of shirts is real work, and I was glad it was fourteen and not fifty. If you were pressing fifty a week you would want an arm and a bench, and you would want to be younger than fifty eight.
The plate is ceramic, rated to 400 °F, well above anything the Cricut Heat Guide has asked of me this year. The unit carries a one year limited warranty. The listing names bags, blankets, hats, socks, pillow covers, mouse pads and other flat things. I have only tried shirts, one tote and two pillow covers. When the work is finished I set it back on its base to cool before it goes back on the top shelf.
What I would not try is a jacket back or a large flat piece. Past a shirt front you are doing a puzzle in sections, and the seams stop being worth the trouble. I have learned to say no to jobs before I start them. Turning something down at the beginning is cheaper than unpicking it at the end.
The Heat Guide Did the Thinking For Me
The most useful part of this purchase is not the plate. It is the guide. Cricut publishes a Heat Guide that hands you a time and a temperature for the material in front of you, and the listing points you straight at it. I open it on the laptop, find what I am pressing, set the press, and wait. Before June I was guessing, and guessing is exactly what cost me those two shirts.
The guide is arranged by material, and it gives you a time and a temperature rather than a range you have to interpret. There are step by step instructions under the numbers as well, and I read them the first time the way I read a recipe the first time. I keep the tab open on the laptop for the whole session, because I do not trust myself to carry a number from one shirt to the next.
I have pressed one kind of iron-on, a plain black pack, onto cotton. I have not tried the specialty films. But the shape of the work does not change. Look it up, set it, press down, count, lift. The counting is the part I love. With an iron I never knew when I was finished. With the press there is a number, and when the number runs out you lift.
That sounds like a small thing and it is not. The iron gave me no way to know. I would hold it there, move it around, lift a corner to peek, press it again, and still end up with lettering that lifted. The press gives me a number and a count, and when the count is done the job is done. I stopped second guessing somewhere around the fourth shirt and I have not started again.
It has to come up to temperature first, and that wait is real. Fourteen shirts in a row means it heats once and stays hot, so you pay the wait at the start and then forget it ever happened. One small project every few weeks means the wait is most of what you remember about the machine. I switch it on and fold the last thing while it climbs.
Where It Slows You Down
Two complaints, and neither one is a defect. The first is the wait at the start. The second is the section work on anything with size. Give it a flat shirt front and it is quick and clean. Give it a shape and you are doing pieces and hoping they line up. If your projects are shirts and pillow covers, you will rarely notice either one. If your projects are bigger, you will notice both every single time.
The wait is longer than you expect the first time and then it becomes part of the routine. I switch on, lay the shirts out on the bed in the order I want them, smooth the first one on the mat, and by the time that is done it is ready to press. On a single small project it is different. One tote panel can take less time to press than the press takes to get ready, and that is the honest arithmetic of owning this.
The section work is the other half. On the tote I pressed the front panel, lifted, shifted, and pressed again to reach the edge, and the join is the part I checked hardest afterwards. It held. On a shirt front it is one placement and I am done. It is not a flaw exactly. It is what a handheld plate is, and it is the reason the presses with arms exist for people doing more than I do.
What has not happened matters too. I have not burned myself. I have not scorched a shirt. I set it on its base when the job is done and keep the mat clear instead of piling tools on it. Every heat press problem I have heard about from other people started with somebody moving faster than the tool wanted to go, and I am too old to move fast.
With an iron I never knew when I was finished. With the press there is a number, and when the number runs out you lift.
There are cheaper presses, and presses with arms, and presses built into a bench. I looked at the ones with arms and did not have the bench to give one. I am not the person to review a machine I have never owned, so I will not pretend to. What I can tell you is what five months at my own table has actually produced.
What I Liked
- Time and temperature come from a published guide, so nothing is guesswork
- The 12 by 10 inch plate covers an adult shirt front
- Handheld design fits a folding table with no dedicated bench
- Ceramic plate rated to 400 °F
- One year limited warranty
- Came through fourteen shirts in one session without scorching
Where It Falls Short
- Has to come up to temperature, and that wait shows on a single small project
- Handheld means section by section work on anything bigger than a shirt front
- Not the tool for a jacket back or a large flat piece
- Takes a shelf's worth of space between projects
Who This Is For
This is for someone pressing shirts at home, on a table that has to do other work, who wants the settings handed to them instead of guessed. If you make a handful of shirts for family, for a church group, for a small local order, and you are tired of peeling lettering, this press closes that gap. It also suits anyone who already owns a Cricut cutter, since the guide and the machine speak the same language and you are not learning two systems in the same month.
It suits the careful person more than the fast one. Give it a flat surface, look up your material, press down, count, lift. That is the whole method and there is nothing hidden in it. I am fifty eight and I press sitting down half the time, and it has never asked more of me than that. What it will not do is think. The guide thinks. You have to go and read it.
Who Should Skip It
Skip it if you need to press jacket backs, long banners, or anything that will not sit flat in one pass. Skip it if you are running any kind of volume, because the handheld plate and the section work will wear you out before the shirts do. And skip it if you already own a press with an arm and a bench to mount it on, since you are not gaining a thing here.
Skip it too if you want a machine that decides the settings for you. This one will not. It gets hot and holds what you set, and the knowing is your job. Anyone who refuses to look up a time and a temperature is going to end up with the same two ruined shirts I started with, and no press on the market will save them from that.
Five months, fourteen shirts, nothing scorched
If your iron is lifting lettering at the corners, this is the plain fix, and the guide does the hard part.
Amazon Check Today's Price on Amazon →