
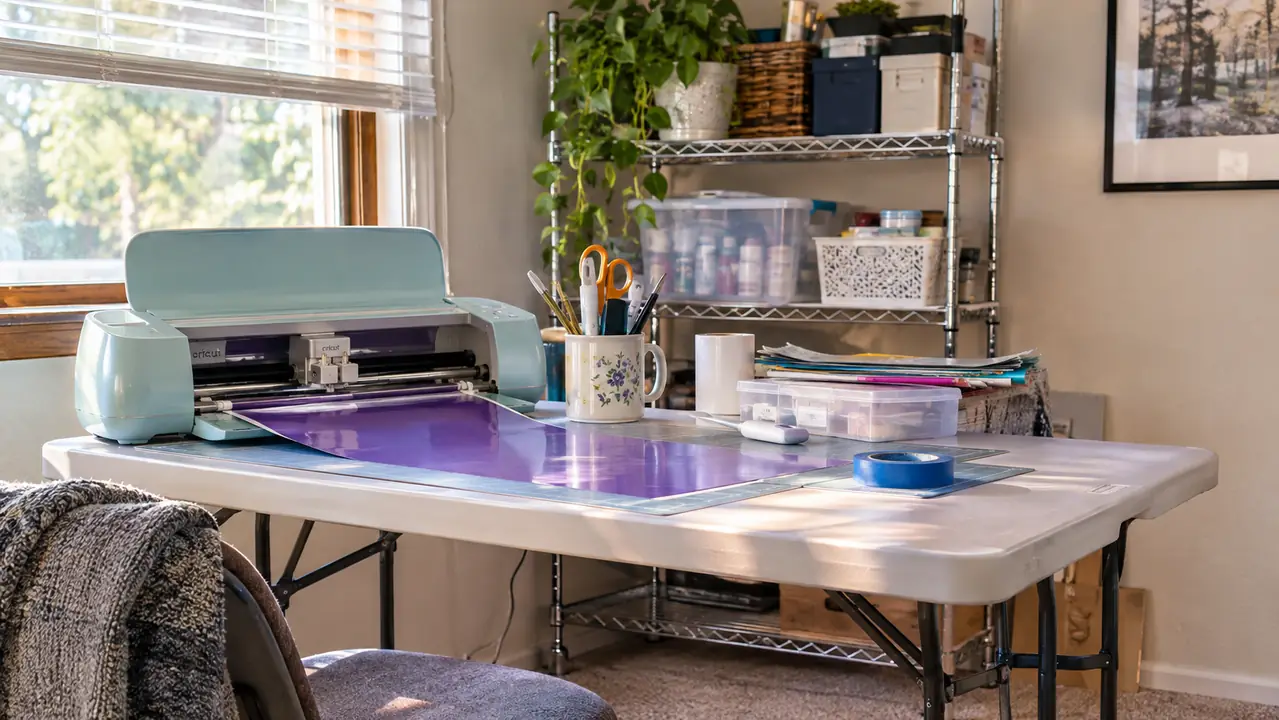
If you already own the Cricut Joy Xtra and it is still sitting in the box, you are not the only one. The machine itself is not the frightening part. The frightening part is opening Design Space for the first time and finding a screen with about forty things on it and no obvious place to start.
I bought my Joy Xtra in March 2026. Before that I had never cut vinyl in my life. I worked in a school office for thirty years before I retired, and my experience with craft software amounted to nothing at all. The first thing I cut was a small black name decal for my husband Glen's toolbox, and I did it on a Tuesday evening at the folding table in my spare bedroom. The G tore on the first try because I was picking at it with a straight pin from my sewing box. Then I opened the weeding tools, tried again, and it came out clean. That decal is still on his toolbox eight months later, and the whole thing took one evening once I understood the order of operations. Here is that order, in plain language, for anyone who needs it.
The machine that does this is the one on my own table
The Cricut Joy Xtra cuts permanent vinyl, iron-on and cardstock, and it takes up less than a foot and a half of table. I have had mine since March and I have not needed anything bigger for decals.
Amazon Check Today's Price on Amazon →Before You Start: What You Actually Need
Five things. The machine, a sheet of permanent vinyl, a cutting mat, a weeding tool and a sheet of transfer tape. That is the whole list, and you can skip the transfer tape on your very first cut if the decal is going straight onto something flat where you can line it up by hand.
One thing to know about the vinyl before you load it. The Joy Xtra cuts on its own mat, which is 8.5 inches wide. Vinyl usually comes in a 12 inch roll, wider than the mat, so you trim a piece down with ordinary scissors first. I keep a roll of black permanent vinyl on the middle shelf of my wire shelf and cut off a piece each time. Trim it a little bigger than your design, with an inch of slack on each side. You will not regret the slack.
Step 1: Open Design Space and Pick a Blank Canvas, Not a Project
This is the step to take slowly. Design Space opens on a home screen full of ready-made projects, and they are tempting, but each one comes with its own materials list and its own instructions and you can read for a long time without cutting anything. In the upper corner there is an option to start a new blank canvas. Click that.
You will get an empty white rectangle that represents your mat. Anything you put inside it will be cut. Anything hanging off the edge will not, and the software will warn you about that before it lets you send the job, which is helpful rather than annoying once you know it is coming.
The first week of Design Space is confusing. I will not pretend otherwise. By May I was comfortable with it, so that is about ten weeks from confused to comfortable, and I was not working at it every day. Do not judge the machine by the software on day one.
Step 2: Add Your Text or Image and Size It
On the left side of the screen there is a text tool. Click it, click on the canvas, and type. For a first decal a name is ideal, because a name is short, the letters are big enough to weed without squinting, and you can see immediately whether the whole process worked. Type it in the font the canvas gives you and do not go hunting for a nicer one yet. You can change the font later by clicking the text and choosing something else, and you can resize by dragging the corner of the box.
How big should it be? For a mailbox or a toolbox, letters about two inches tall are easy to handle and easy to read. For a tumbler or a water bottle, half an inch is more like it, but half-inch letters are fiddly to weed and I would not start there. Somewhere between one and two and a half inches is a kind first project.
Two things to check before you go on. Make sure the design sits inside the mat boundary, and make sure nothing is overlapping in a way you did not intend. If two letters are touching, they will cut as one piece and you will have a shape you did not ask for. Spread it out and look at it.
Step 3: Choose the Material, Then Load the Mat
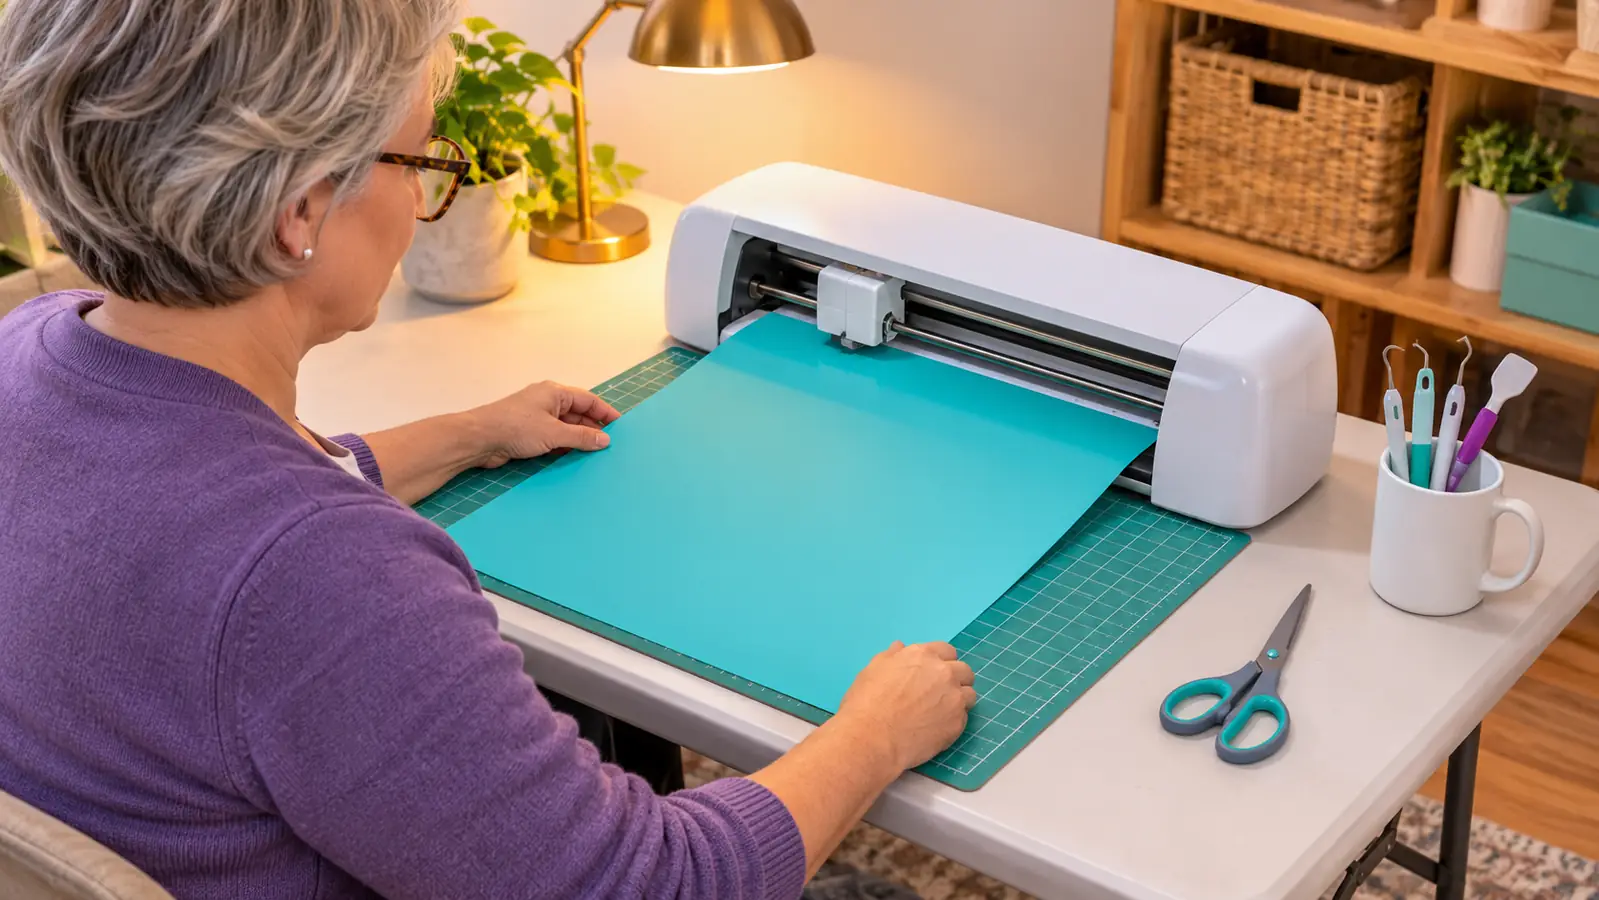
This is the step people skip and then wonder why the cut went wrong. Once your design is ready, click Make It. The software will show you a preview of your design on the mat and offer you a list of materials. Pick Permanent Vinyl from that list. The machine uses that choice to decide how hard to press, and the machine handles the cut from there, which is exactly what you want on your first attempt. I have never changed or adjusted the blade on mine, not once in eight months, and I do not intend to start.
Now lay your trimmed vinyl on the mat. Peel the clear cover sheet off the mat first, then press the vinyl down flat with the back side against the mat, smoothing from the middle out. Any bubble you leave will produce a wrinkle in the cut, so take thirty seconds and push it flat with your hand.
Then load the mat into the machine and press go. Stand there and let it work. It is quieter than you expect. The first time I ran mine I thought something was wrong because it was quieter than I expected, and then the mat slid back out with the whole design cut into the vinyl.
Step 4: Weed It With the Hook, Not With a Pin
Unload the mat, peel the vinyl off, and take it to a well lit spot. I weed under a desk lamp with my reading glasses on, and I recommend both. Weeding means removing the vinyl you do not want, so that what stays on the backing sheet is your design.
Use a hook tool. Here is the honest reason I say that. On my very first decal I used a straight pin from my sewing box because I did not know any better. The G in Glen's name tore, and it tore because of the pin. That same evening I opened the weeding set, used the hook, and cut the design again. Nothing tore. I have not touched the pin since, and that is not a technique I outgrew, it is a technique that was wrong.
Work slowly and lift rather than pull. On small letters the tweezers in the set are handy for picking up the scraps that come free. For very small lettering there is also a curved loop piece that holds the loose vinyl down while the hook works, and I use it when letters get down around half an inch. There is no shortcut past patience and good light, but those two things are genuinely all it takes.
The G in Glen's name tore because I was weeding with a straight pin from my sewing box. I cut it again with the hook tool and nothing tore. It is still on his toolbox eight months later.
Step 5: Transfer Tape, Then Stick It Down
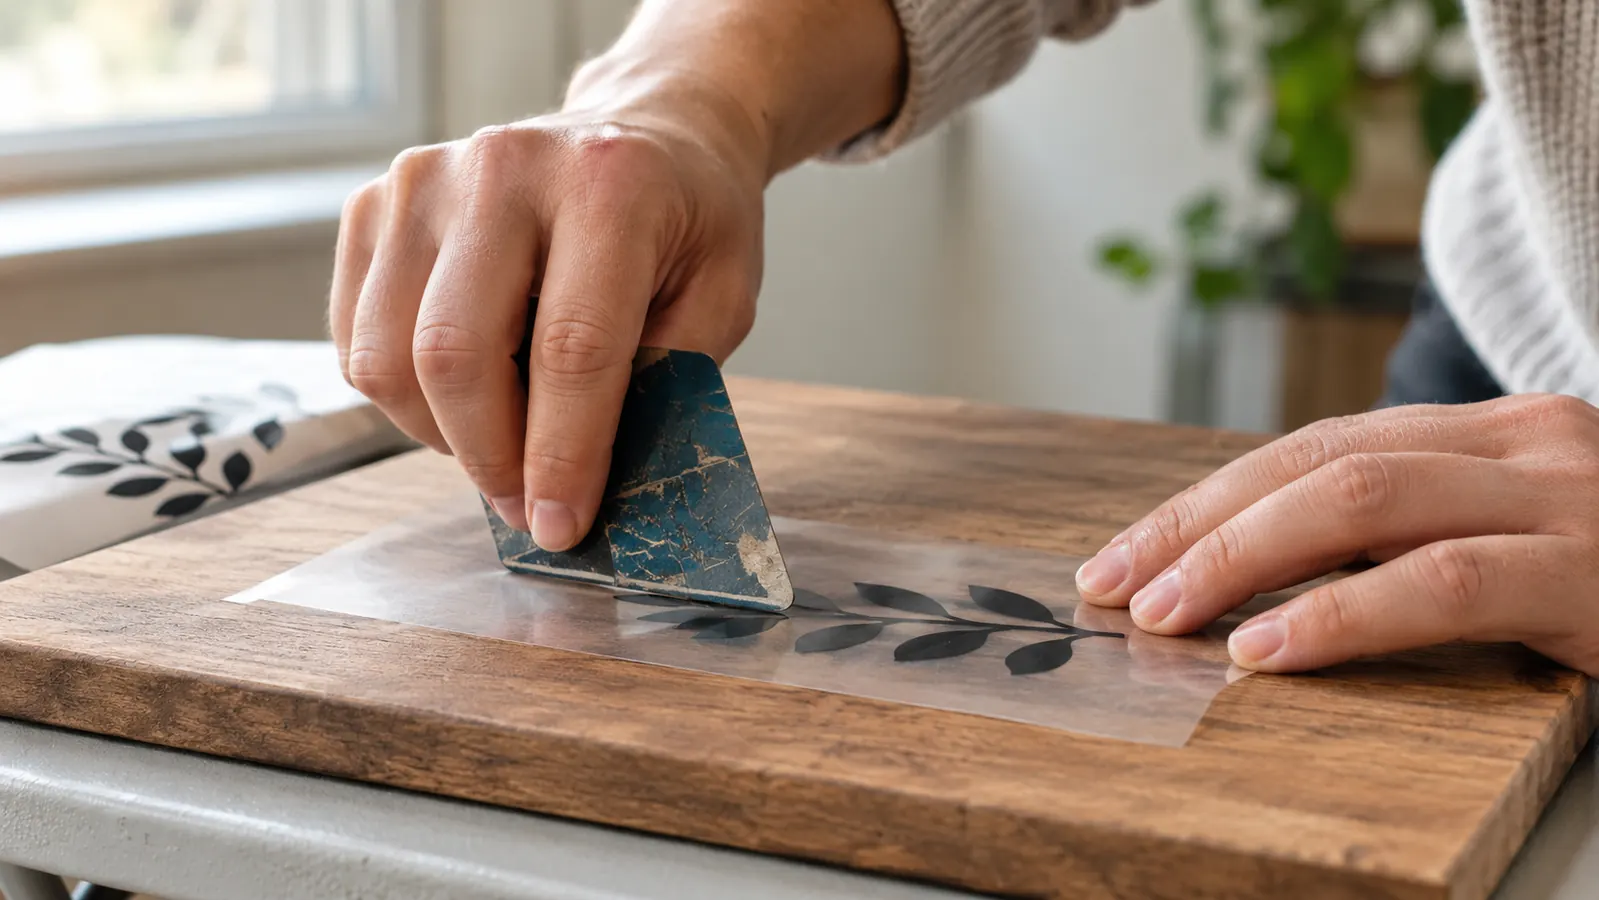
Cut a piece of transfer tape a little larger than your design. Lay it over the top of the weeded vinyl and rub it down firmly with something flat. I use an old gift card, and it works better than my fingers because the pressure is even. Then peel the tape up slowly, and the vinyl should come with it, leaving the backing sheet behind.
Now position it on the thing you are decorating and rub it down again through the tape, edge to edge. Then peel the tape away slowly, at a low angle, holding the vinyl down with a fingernail if it starts to lift. That is the whole of it.
One honest note about transfer tape. My tape has faint grid lines on it, and for the first several months I ignored them and placed everything by eye. If your project has more than a couple of words in a row, use the lines.
What Else Helps
A few small things that make the difference between a decent first decal and a frustrating afternoon.
Flatten the vinyl before you cut it. Vinyl comes on a roll and it wants to stay curled. Cut your piece, lay it flat, and put a couple of heavy books on it overnight. I do this routinely and it costs nothing but a day of planning.
Clean the surface before you stick anything to it. A wipe with rubbing alcohol and a minute to dry is enough. Vinyl applied over dust or finger grease will lift at the edges within weeks.
Keep your cut pieces somewhere flat. A cheap plastic bin from the hardware store is fine. I keep my rolls upright in one on the middle shelf of my wire shelf, because rolls laid down develop a flat side and then fight you every time you cut.
Do not try to do too much at once. My machine is small and I am glad of it, because a small machine keeps my projects small, and small projects are the ones that actually get finished. I was asked once about a large banner and I said no, and I would say no again.
And do not expect the first one to be perfect. Mine was not. The second one was better. If you have a printer and want to try the Print Then Cut feature for stickers, the machine supports it, but I have never done it and cannot walk you through it. Vinyl is the honest starting point for anyone with a laptop and a table.
Who This Walkthrough Is For
You own the Joy Xtra, or you are about to, and you want to make decals for your own house, for gifts, for a church group or for a small local order now and then. You are working at a table in a spare room or a corner of a dining room and you do not have space for a big machine or an interest in one. You would rather have five clear steps than a ninety minute video that leaves you more confused than when you started.
It is also for the person who is good with their hands and nervous about software. That was me exactly. The cutting is easy. The software is the part that takes a few weeks, and then one day it stops being a wall and becomes just a screen you click three times.
Eight months in, mine is still on the same folding table
The Cricut Joy Xtra has cut every decal I have made since March, including four house numbers on a mailbox that have held up for seven months. If you are ready to stop looking at the box, here is where to start.
Amazon Check Today's Price on Amazon →