
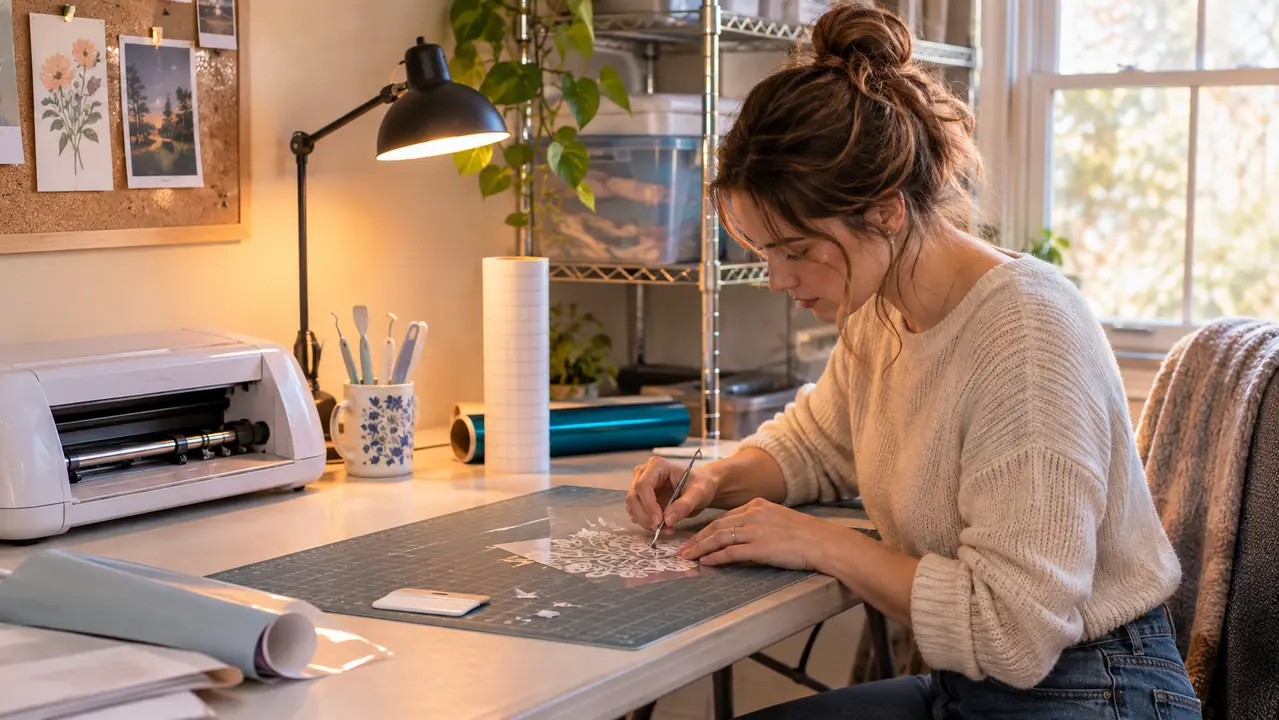
The part that turns a calm evening into a nervous one is not the cutting. It is the moment after the vinyl is cut and weeded and lying on the table looking finished, when the whole design has to come off its backing paper in one piece and go down straight on a surface you cannot easily undo. I know that feeling. Before March 2026 I had never cut vinyl in my life. I am 58, retired from a school office in Tulsa, and I learned all of this at a six foot folding table in my spare bedroom, under a desk lamp, with my reading glasses on.
The tape I use for that step is YRYM HT transfer tape, the 12 inch by 50 foot roll. I bought it in March 2026 in the same order as my first cutter, and eight months later I am about halfway through it. It is a clear medium tack tape with half inch see through grid lines printed across it. You press it onto a finished decal, rub it down, peel the backing away, and the design comes up stuck to the tape instead of staying on the paper. The grid lines are the part I ignored for six months, and I will get to that.
Medium Tack Holds the Decal, Then Lets Go of It
YRYM HT transfer tape, 12 inches wide by 50 feet, with half inch see through grid lines and a medium tack that releases without leaving residue behind. One roll has covered eight months of projects at my table.
Amazon Check Today's Price on Amazon →Five Steps, Start to Finish
Step 1: Cut and weed the decal before the tape comes near it
The tape only does one job, and it can only do that job on a decal that is already finished. So the first step happens entirely before the roll comes off the shelf. I open Design Space on the laptop in the middle of the table, pick the design, size it, and send it to the cutter at the left end. Then I weed, which just means pulling away the vinyl I do not want so that what is left on the backing paper is only the letters or the shape itself.
I weed under the lamp with the hook from my weeding set, and I use the tweezers for the small scraps that sit inside letters like O and A. My reading glasses stay on for this part. Small text is where a person gets careless, and the tape will cheerfully lift a design that is not finished and carry the loose bits along with it. If anything is still attached that should not be, deal with it now, because once the tape goes down you are committed.
A word about size. The tape is 12 inches wide. My cutter's own mat is 8.5 inches wide, so I trim the vinyl roll with scissors before I cut a design, and the tape is always wider than the decal I am lifting, which is how it should be. If your design runs longer than the tape is wide, cut two pieces and overlap them by an inch, or work in two passes. I work in one pass because nothing I make is larger than a door sign.
Step 2: Cut a piece of tape with room left to hold on to
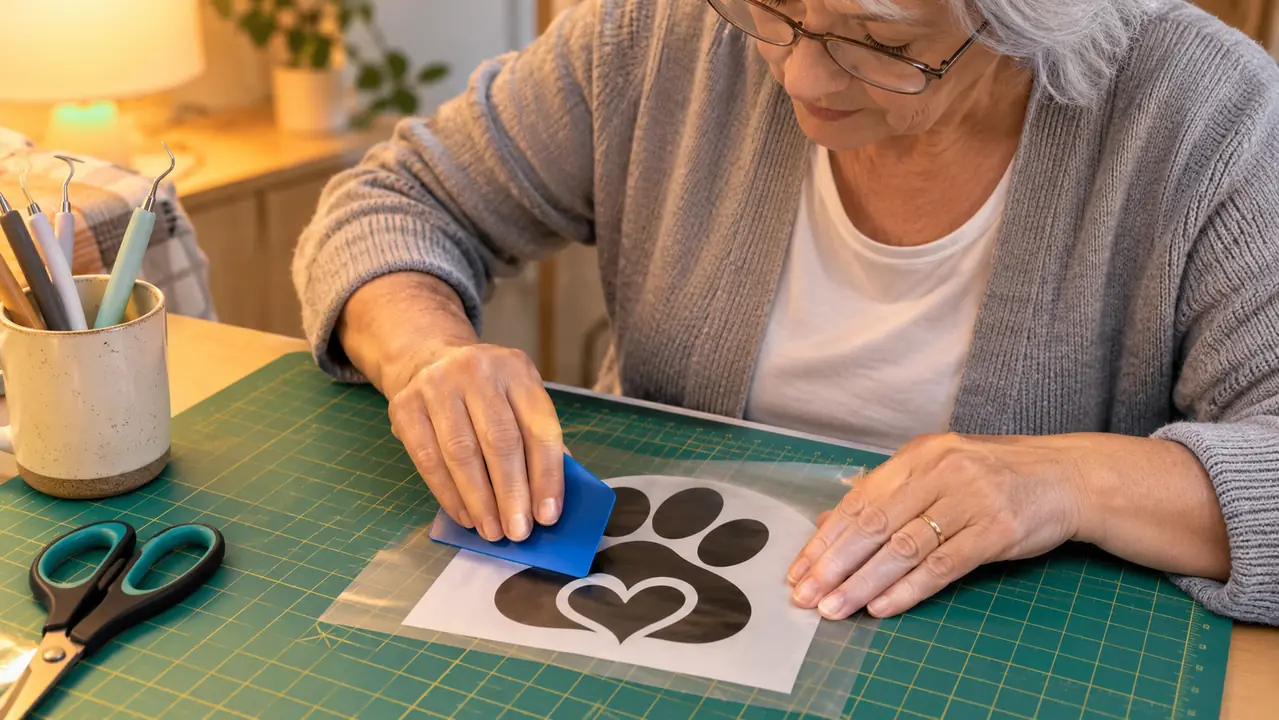
Lay the tape over the decal without pressing it down and see how much you need, then add an inch or so on every side. Those extra inches are not waste, they are handles. You will hold the tape by them while you rub and while you peel, and if you cut the tape exactly to the edge of the design you will be picking at a corner with a fingernail and lifting letters along with it.
This is where the grid earns its place. The YRYM HT tape has half inch lines running the whole width, so I can measure a straight piece by eye instead of hunting for a ruler, and I can cut along a line instead of guessing. For the first months I cut by eye and never looked at the lines at all. That worked, mostly, because a small decal on a toolbox does not care about a quarter inch. It stopped working for me on a job with twelve letters in a single row.
The cut piece will want to curl back up. Any roll does that, and this one is no different, so I lay the piece flat and set a book on it while I finish the weeding. Two minutes is plenty and it saves a fight later.
Step 3: Rub the tape down hard before you lift anything
Medium tack means the tape holds the vinyl once you press it, not the instant it touches. So press it. Lay the tape over the decal, start at one end, and smooth it down with an old gift card, working from the middle outward so you push air ahead of you instead of trapping it in a bubble. Go over the whole design twice. The first pass sticks it. The second pass is the one that matters.
Then turn the whole thing over and rub the backing paper side too. This is the step people skip, and it is the reason a letter stays behind on the paper a minute later. The vinyl has to let go of the backing and grab the tape, and pressure is what makes it decide. Give extra attention to corners and to the thin strokes of letters, where there is less vinyl to hold on to.
If you are working on a long piece, work in sections. Rub one section, move down, rub the next. My tape lives upright in a plastic bin on the middle shelf of a wire rack, and it wants to unroll itself if I leave the band off, so I cut what I need, lay it flat, and put the roll away before I start rubbing. Otherwise I am wrestling the roll with one hand and the decal with the other.
Twelve letters in one row on a church office door. The first time I lined the grid up with the tops of the letters, they came out straight.
Step 4: Peel the backing away slowly and at a low angle
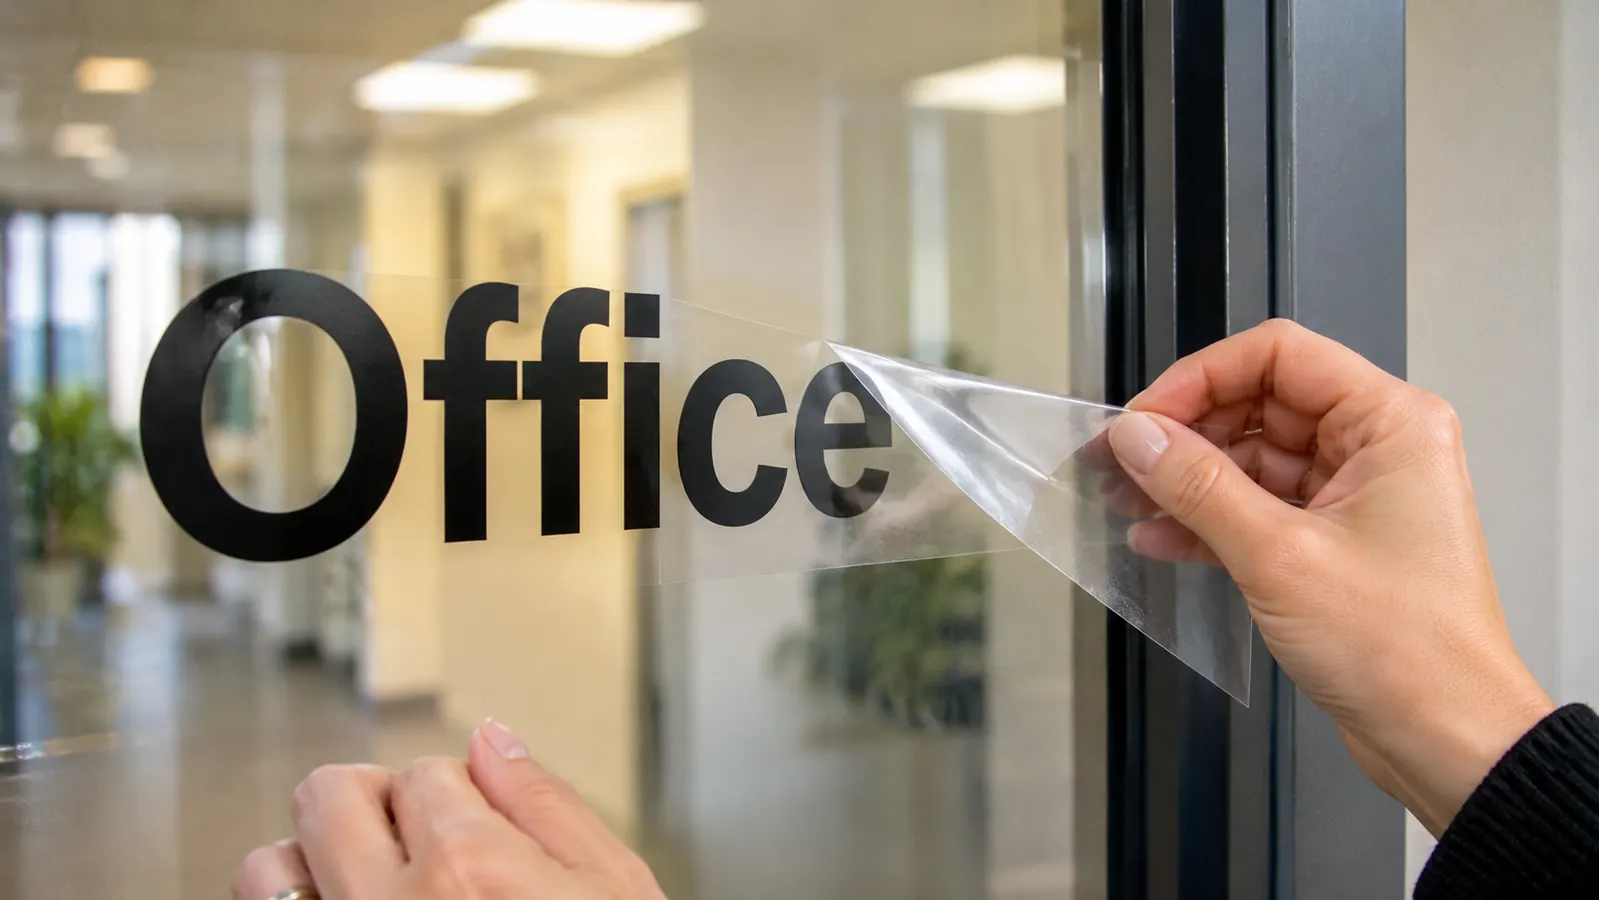
Flip the piece back over so the tape is on top. Hold the tape down with one hand and bend the backing paper back on itself, peeling it away slowly and close to the table rather than pulling it up toward the ceiling. A low angle keeps the vinyl flat against the tape. Pulling straight up is how a small letter or the dot of an i decides to stay on the paper.
If something does stay behind, do not panic and do not throw it out. Lay the tape back down on the paper, rub that spot with the card, and peel again. It usually comes up on the second try, because the vinyl had not fully released the backing the first time. Once the decal is on the tape, hold it by the two edges you left yourself and keep it flat.
This is also the moment to look at it. The decal is sitting on clear tape, so you can see it from the back and you can see whether every piece came up with you before you touch the surface. Better to find the missing dot now than after it is stuck to a door.
Step 5: Place it, press it, and peel the tape off the surface
Wipe the surface first. Dust and fingerprints are the reason a decal lifts at a corner later, and a dry cloth takes ten seconds. My decals end up on metal outdoors and on a painted door indoors, and the tape has lifted and released the same way on all of them.
Then position it. Hold the decal by the tape edges, set one edge down first, and lay it across the surface. Because the tape is see through, you can see the design and the grid at the same time you are placing it, which is the whole reason I stopped eyeballing. In September 2026 I put the words CHURCH OFFICE on the church office door, twelve letters in one row, and I lined a grid line up with the tops of the letters before I pressed anything down. That was six months after I bought the roll and the first time I had bothered. It came out straight.
Press from the middle outward with the gift card, the same way you did on the table. Then peel the tape back over itself, slowly, at the same low angle you used on the backing paper. Do not pull it up. If a letter starts to come with the tape, press that letter down with your thumb and peel past it. Rubbing the whole decal once more through the tape before you take it off is cheap insurance.
What Else Helps
Point a desk lamp sideways across your work instead of straight down at it. Light raking across the surface shows the edge of the vinyl, which matters a great deal when you are weeding narrow letters and cannot tell a cut line from a shadow. That, plus my reading glasses, is most of the difference between a tidy decal and a ragged one.
Keep the roll upright, keep it in a bin, and keep the offcuts. Small pieces of tape are still good for a single name or a short word, and I pull from the scrap end of my bin more often than from the roll. Keep a rubber band on it and it behaves. Let it sit somewhere it can slowly unroll and you will spend your first ten minutes of every project winding it back up.
Be honest about what the tape can and cannot do. It will not straighten a decal that was cut crooked. It will not save you from a surface you did not wipe. It cannot make a large sign fit a small machine, and no transfer tape on the market will fix that. What it does is move a finished design from the paper to the door in one piece, and it does that reliably as long as you rub it down hard enough and peel slowly enough.
The one thing I would change about the YRYM HT roll is the unrolling, and that is a small complaint about a roll that has lasted me eight months of a few projects a month. If I were starting over, the only thing I would do differently is use the grid lines on day one instead of month six.
The Grid Lines Are There Whether You Use Them or Not
YRYM HT transfer tape, 12 inches by 50 feet, medium tack, with half inch see through grid lines for measuring and cutting a straight piece. If you are about to lift your first decal, this is the step worth slowing down for.
Amazon Check Today's Price on Amazon →