
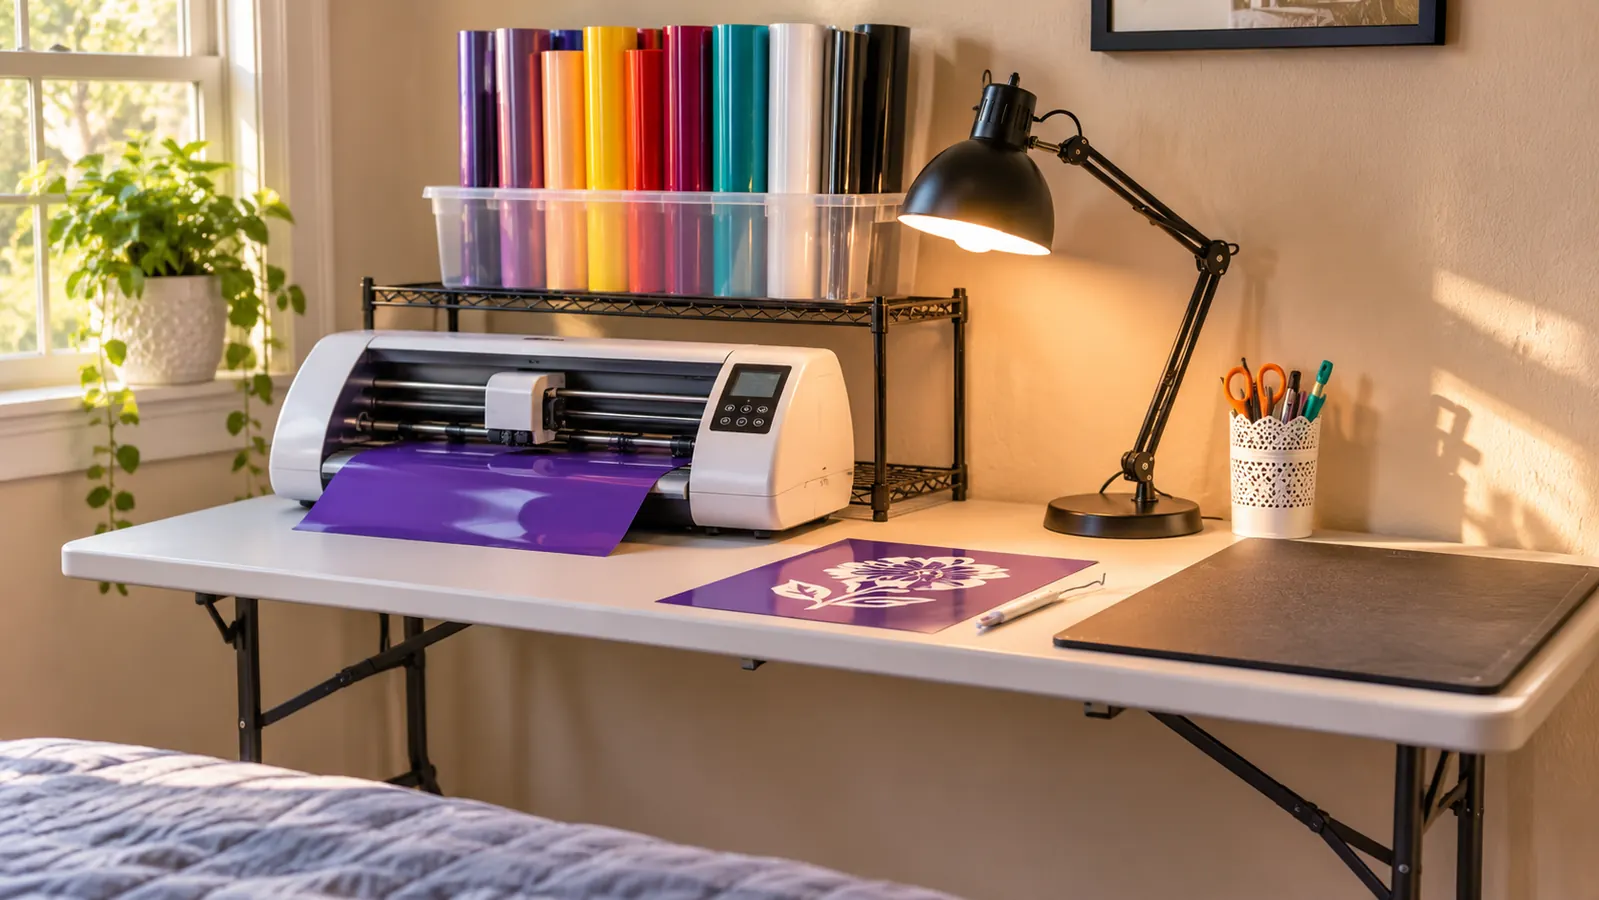
The letters that cause trouble are almost never the big ones. They are the half inch kind, the kind that go on a classroom door label, a tumbler or the front of a notebook, where the counter of an e is barely wider than the point of the tool in your hand. This August I cut and weeded twelve of those labels for my church in one Saturday morning, about three hours at the folding table in my spare bedroom, and every letter came off the backing sheet clean. The three tools doing that work were a hook, a pair of tweezers and a loop from a tiptopcarbon set that stands in a mug beside my Cricut Joy Xtra.
If you have already tried a small letter and watched the whole thing come up with the waste sheet, the problem is probably not your hand. It is angle, it is direction, and it is the fact that a small letter has almost no surface holding it to the backing. Change those three things and the same hand that tore the last one will manage the next one fine. I am not a patient person by nature. What follows is a method, not a talent.
Three small tools, two of them sharp, and a mug to stand them in
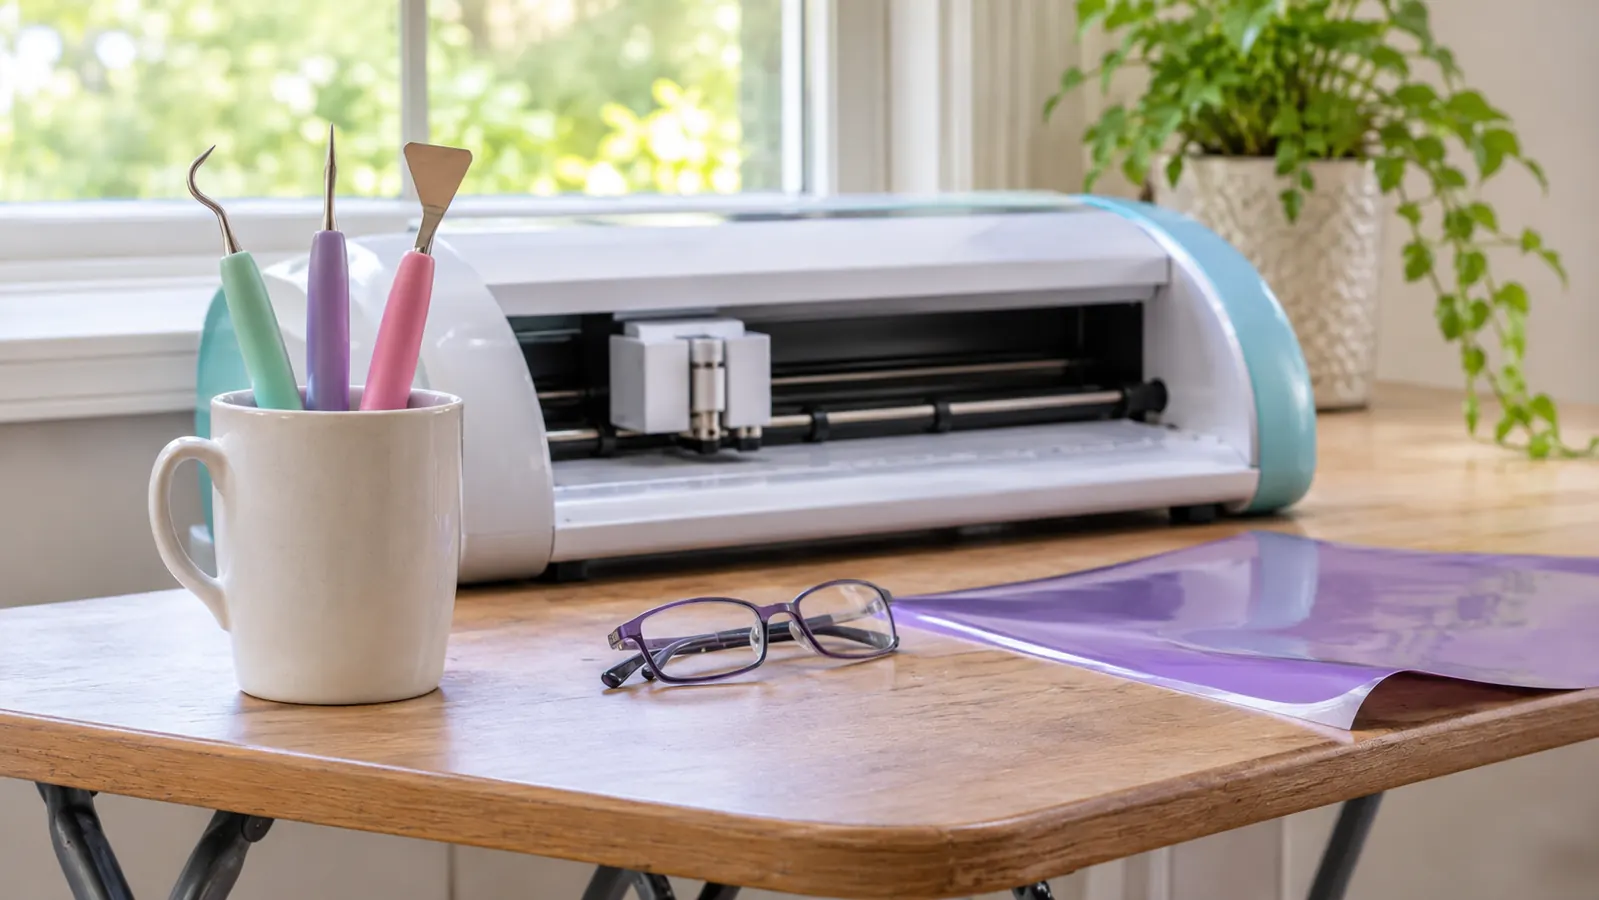
The tiptopcarbon set is a hook, a pair of tweezers and a loop, and it is the whole kit I use for half inch lettering. It arrives as three pieces with no case, which is why mine live in a mug at the left end of the table.
Amazon Check Today's Price on Amazon →Why Small Letters Fail in the First Place
Vinyl is cut, not printed, so every letter sits on the backing sheet inside a rectangle of waste. On a two inch letter there is enough contact area to hold the vinyl down while you pull the waste away. On a half inch letter the contact area is tiny, and the tool you use to lift the waste also drags at the letter, because at that scale the two are a hair apart. Pull the waste up and toward you and the letter goes with it. Slide in sideways and low and the two separate.
The second thing working against you is the backing sheet itself. A piece that has been curled on a roll does not lie flat, and a ripple in the paper means the letter lifts as the sheet rocks. I flatten cut pieces under a stack of books overnight, which costs nothing and solves most of it.
The third is holding. A small counter, or an i dot, or the middle bar of an e, has nothing behind it once the waste around it is gone. It sits on the backing with nothing pressing it down, so the next touch of any tool picks it up. That is the job the loop does, and it is the reason I stopped weeding tiny letters with one tool.

The Five Steps, In Order
Step 1: Set up the light and the sheet before you touch a tool
I weed under a desk lamp with my reading glasses on, and I would not attempt half inch letters without both. The lamp sits close and slightly to the side so the blade of the hook casts a small shadow, and the shadow is what tells me where the edge of the vinyl is. Overhead light alone flattens everything into one grey shape at that size.
Flatten the cut piece first. If the vinyl came off a roll, set it under books overnight. Then tape the corners down to the table or hold them with your spare hand. A sheet that slides while you work is the second most common reason a letter lifts.
Lay out all three tools before you start. Hook, tweezers, loop. Reaching into a drawer in the middle of a letter is how a piece gets knocked onto the floor, and you will not find a half inch counter once it is down there.
Step 2: Weed the waste, not the letters
This is the sentence that fixes most of it. You are not lifting the letter off the sheet. You are lifting the waste away from the letter, and the letter stays where it is until you carry it to the transfer tape. Once I stopped thinking of it as picking out the letters, the weeding got easy.
Put the hook in at a low angle, almost flat to the sheet, and slide it under the waste rather than stabbing down at it. Work in one direction, away from the letter, and use short strokes. A long stroke across a small letter will catch the letter's edge even when the hook is flat.
Start with the big open areas and move toward the tight ones. On a label that means the space between words first, then the space inside letters. Save the counters, the closed loops in an e or an o or a b, for last, because those are the pieces most likely to fly.
Step 3: Hold the small pieces down with the loop
The loop is the piece I did not understand for the first few months. It is not a second hook. It is a flat, rounded end you set on top of a small piece to keep it against the backing while the hook works around it. On a half inch letter that is the difference between a clean counter and a missing one.
Set the loop on the letter with a light hand, no pressing, then bring the hook in from the side and lift the waste around the letter's edge. Move the loop as you go, following the hook around the shape. On an i dot or a colon, the loop stays put and the hook does the travelling.
This is the step that made the twelve classroom labels possible in one morning. Without something holding the small pieces, I would have been chasing counters across the table and cutting them again.
Step 4: Use the tweezers for the last scraps and the inside corners
The tweezers in the tiptopcarbon set are the tool I reach for at the end, not the beginning. Any scrap too small for the hook, a sliver inside a tight curve, a bit of waste stuck to the backing after the hook has passed, comes up with the tweezers and no drag on the letter.
Grip the waste, not the letter, and pull straight up. If a scrap will not come, do not dig with the tips. Set the loop on the letter, then come back with the hook at a flatter angle. Digging is how a letter gets a nick in the edge that shows up after it is on the tumbler.
The tweezers also help at the end of the transfer step, when a small piece has lifted with the carrier sheet and needs to be set back. Keep the tips clean. A tacky tip picks up lint and then drags it onto the vinyl.
Step 5: Transfer tape, a firm rub, and a slow peel
Cut a piece of transfer tape bigger than the lettering, lay it over the top, and rub it down with an old gift card, working from the middle out. On small lettering the rub matters more than on big, because there is less tape in contact with each letter. I rub until the vinyl shows through the tape.
Peel the tape back at a low angle, slowly, and watch the letters come with it. If one stays on the backing, lay the tape back down, rub that spot again, and try once more before you reach for a tool. The YRYM HT tape I keep on the shelf has grid lines that help keep a row straight, though I ignored them for my first six months of using it.
Then place the whole thing on the project, rub again through the tape, and peel the carrier off at the same low angle. On a curved surface like a tumbler, work from the middle outward with your thumb rather than pulling the tape off in one motion.
The Other Method, for Lettering Under a Quarter Inch
There is a second way to handle lettering so small that the hook keeps catching the letters. Instead of weeding on the backing sheet, lay the transfer tape over the whole cut piece first and rub it down. Then weed through the tape, lifting the waste away while the letters stay stuck to the carrier. The tape does the holding job that the loop does in the method above.
Some crafters use this on very small lettering, and on jobs with a lot of separate small pieces. It is slower to set up and you use more tape. On a tape like YRYM HT, it should work best with a light rub rather than a hard one, because the waste needs to let go cleanly.
The loop still earns its place on this method. You set the tape on a cluster of small letters and press it down before peeling anything back, which keeps the pieces from shifting. I have not needed this method myself. Two tools, one job, and neither of them is doing the other's work.
What Else Helps
Size the design to the tool you have. Half inch letters sit at the small end of comfortable for a hook and a loop. Below an eighth of an inch everything gets harder, and the waste is difficult to see even under a lamp. If a design can be a quarter inch bigger on the project, make it bigger.
Font choice matters more than people expect. A thin script at half an inch has strokes narrower than the tip of the hook, and nothing you do with your hands will fix that. Simple block letters with even strokes weed cleanly at small sizes.
Keep the tools clean and standing upright in a mug so the tips do not bend. Mine have no case, which is the one thing I would change about the set. The tweezers live point down in the mug and the hook and loop lean against the rim.
Give the piece five minutes of your full attention rather than an hour of half. I weed a couple of evenings a month at most, and I do not start a small lettering job when I am tired or when Glen is talking to me from the doorway.
The hook moves the waste. The loop holds the letter still. Those are two different jobs, and the second one is why half inch letters survive the table.
Half inch letters stop being a gamble once the loop is on the table
Three pieces, no case, standing in a mug beside the machine. If small lettering is the part that keeps going wrong, this is where I would start.
Amazon See the tiptopcarbon set on Amazon →