
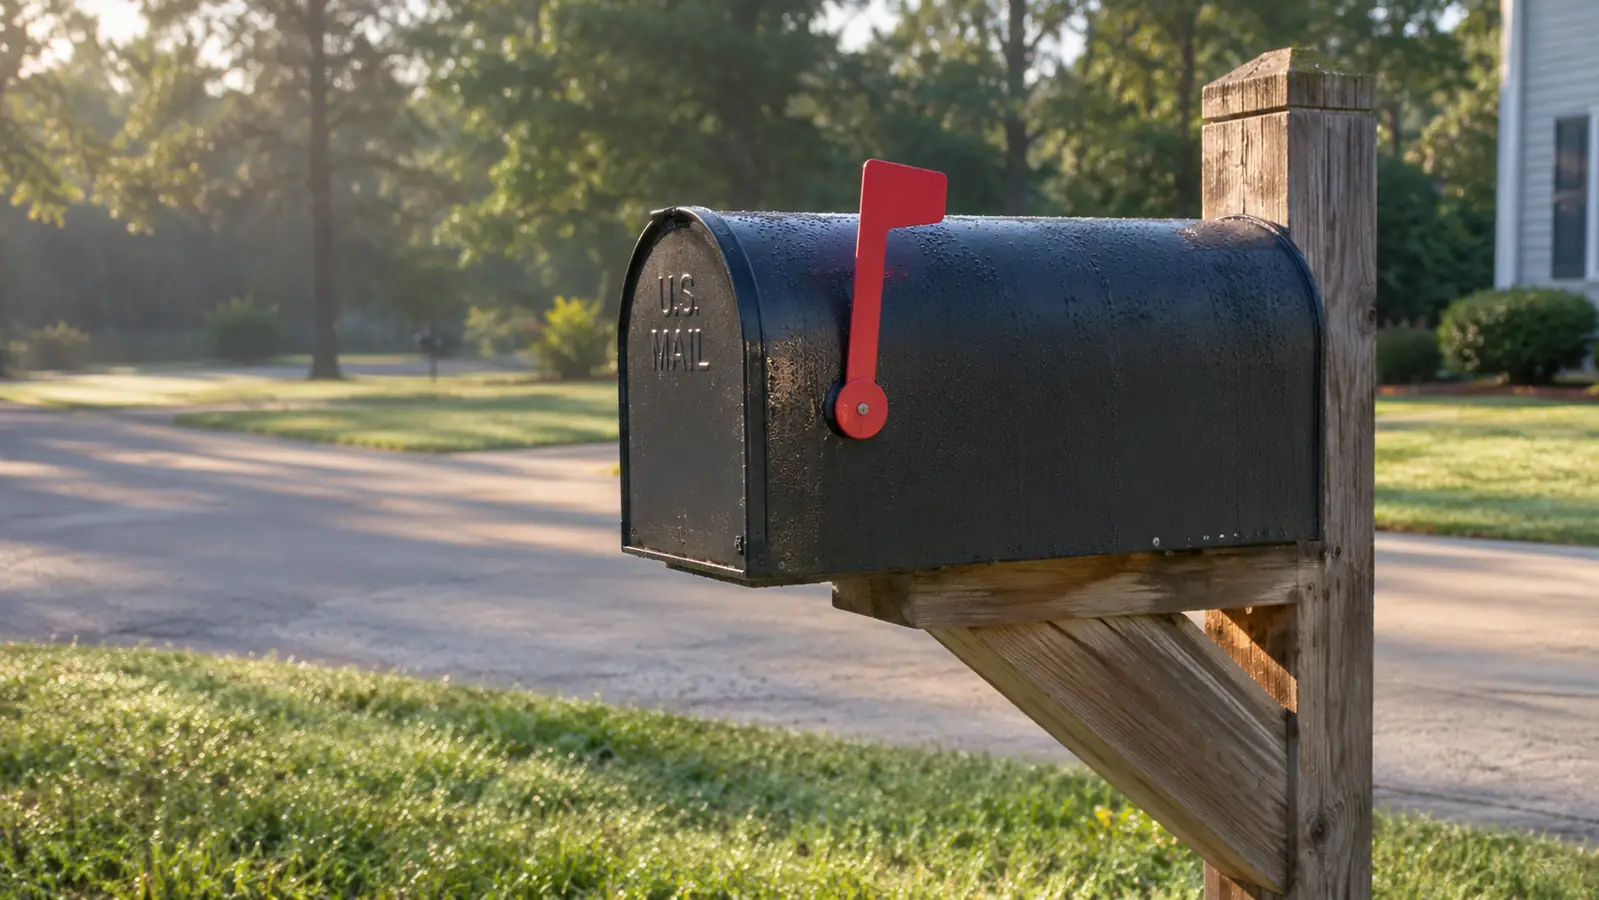
I put four house numbers on Ruth's mailbox in April, on a Tuesday afternoon, with a roll of Sooez black permanent vinyl and about ten minutes to spare. Ruth is my next-door neighbor. Her old stick-on numbers had curled at the corners and one had gone missing, and she asked if I could make something plainer. I had owned my Cricut Joy Xtra for about a month. I had cut one decal before that, a small name for Glen's toolbox, and I was still opening Design Space slowly, as if it might bite. That mailbox job is still on her box seven months later. It has been through rain and summer heat. The numbers are still there.
If you are new to a cutter, a mailbox is a good first outdoor project. The surface is flat and smooth, the design is short, and you can see the whole job from the curb. The nervous part is usually the software, not the vinyl. I know that feeling. The steps below are the ones I would walk you through at my folding table, in the order I do them. The Sooez roll I use is 12 inches wide and 11 feet long, with a permanent adhesive and a PET backing. That backing matters when you are learning, because it keeps the vinyl flat while you cut and weed.
The roll I used for Ruth's numbers is still the one on my shelf
Sooez Black Permanent Vinyl, 12 inches by 11 feet, permanent adhesive, rated for indoor and outdoor use. It is the roll I reach for when a neighbor asks for a small decal. Check today's price on Amazon.
Amazon Check Today's Price on Amazon →Step 1: Pick a flat spot and clean it
Pick a flat, smooth part of the mailbox. The side or the front door is usually fine. Skip any raised lettering, a textured finish, or a spot where the metal is dented. Permanent vinyl needs contact across the whole design. A bump means a bubble, and a bubble means an edge that lifts later. A clean, flat surface is most of the battle.
Clean the metal with warm water and a drop of dish soap, then rinse and dry it with a clean cloth. I follow that with a little rubbing alcohol on a paper towel and let it flash off. Do not touch the surface after that. The oil from your fingers is enough to cost you adhesion. If the mailbox is in direct sun, wait for a milder part of the day. A hot surface makes the vinyl want to stretch while you place it.
Measure the space you have, even if you plan to eyeball the final placement. I eyeballed Ruth's four numbers, and they came out level enough for her box. You do not have to do what I did. A ruler and a pencil dot at each end will give you a straighter row, and a paper mock-up will show you how the numbers fill the door before you cut anything. Tape the mock-up to the box and step back to the curb. Whatever you can read from there is the size that belongs on a mailbox.
Step 2: Set up the design and keep it simple
Open Design Space and start a new project. Use the text tool, type the numbers or the name, and pick a plain font. A sturdy sans serif is easier to weed than a thin script. Thin strokes can tear when you pull the backing away, and small enclosed spaces inside letters are fiddly for a beginner. For a mailbox, simple is not a compromise. It reads better from the street.
Size the design to your measurement. Ruth's numbers are about 2.5 inches tall. That is a good height for a standard box. If you are doing a name, keep the tallest letter under 3 inches unless your box has room. Leave at least half an inch of space between the design and the edge of the door. Do not mirror the design. Mirroring is for iron-on, not for this. The cut side goes up, and the backing stays against the mat.
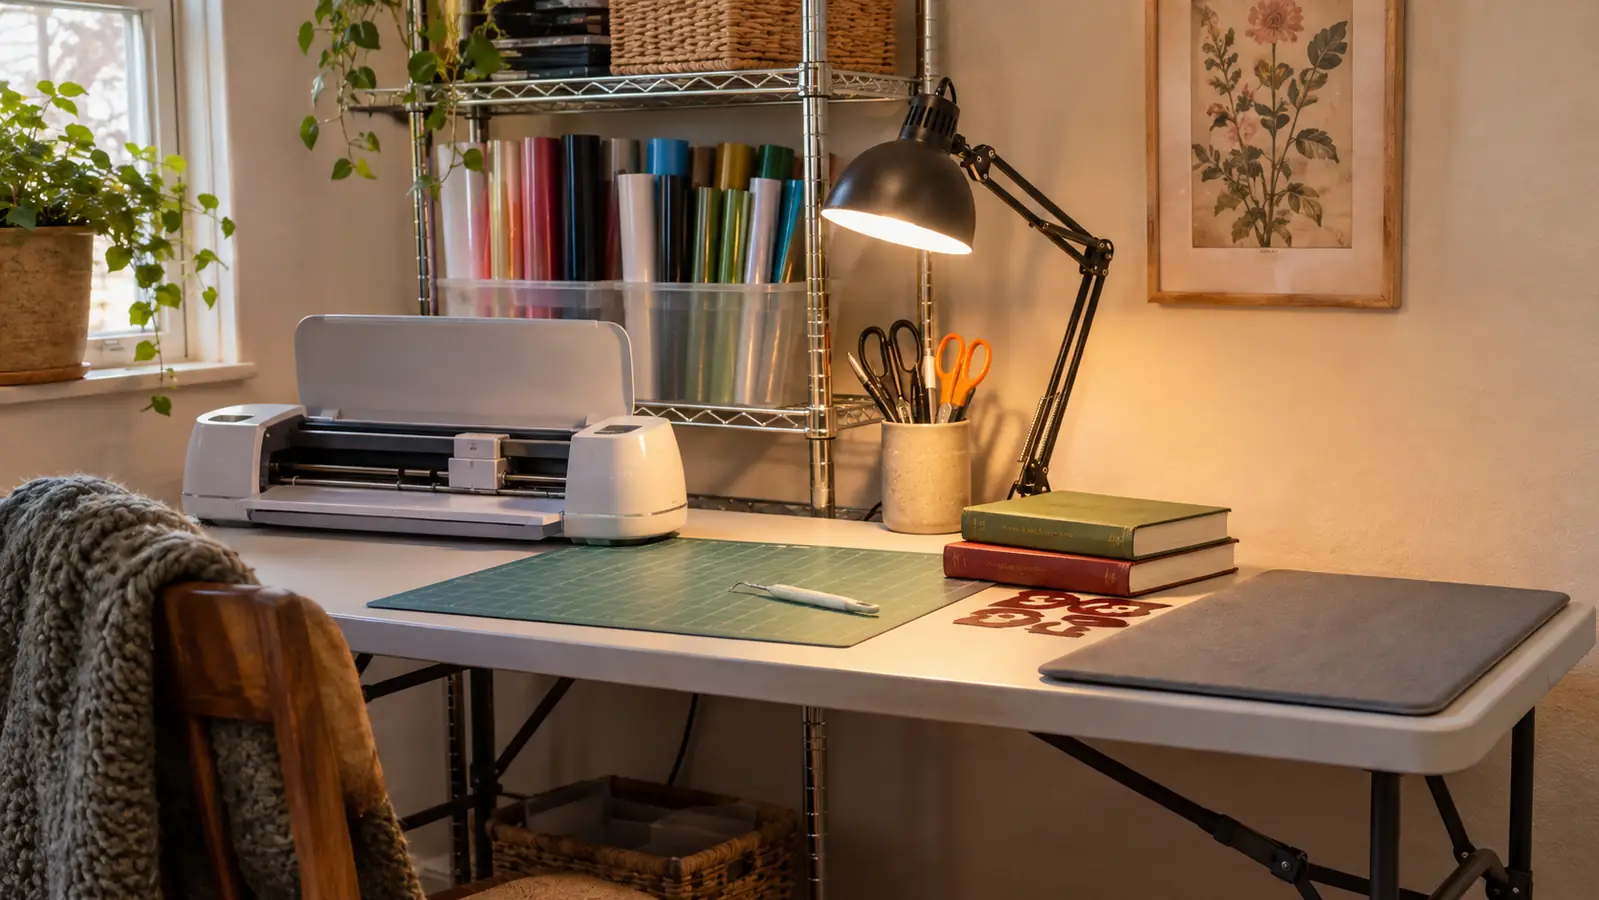
The Joy Xtra cuts on its own mat, which is 8.5 inches wide. The Sooez roll is 12 inches wide, so I trim a piece to fit with plain scissors before I load it. Cut a little more than your design needs. You want margin to hold onto while you weed. Place the vinyl on the mat with the backing down and the cut face up, then pick the vinyl material setting in Design Space. The machine handles the cut from there. I have never changed or adjusted the blade, and I do not plan to start.
Step 3: Weed with a hook, not a pin
Let the machine finish, then take the mat off the table and look at the cut before you move anything. You should see the shape of your design in the vinyl, with the backing still underneath. If a letter looks loose, leave it. That is normal. Weeding is the next job, and it is the part that decides whether the decal goes on clean or in pieces.
Use a weeding hook, not a pin. The hook lets you lift the waste vinyl away from the design without stabbing through a letter. Work under a lamp, with your reading glasses on if you need them. Start at a corner and pull the waste away slowly, in one direction. For the inside of an O or an 8, press the vinyl flat with your finger and lift the little piece out with the hook. The loop tool is useful for holding a small piece down while you work around it. Tweezers are handy for the scraps that stick to the mat.
Take your time. This is not a race, and a mailbox with four numbers is a small enough job that you can afford to be careful. If a letter lifts out of place, lay it back on the backing and press it down. The Sooez vinyl is forgiving. A fingerprint wipes off with a dry cloth. When the design is clean, cover it with a piece of transfer tape and rub it down.
Ruth's four numbers have been on her mailbox for seven months, through rain and summer heat. The vinyl is still flat and still readable.
Step 4: Lift the design with transfer tape
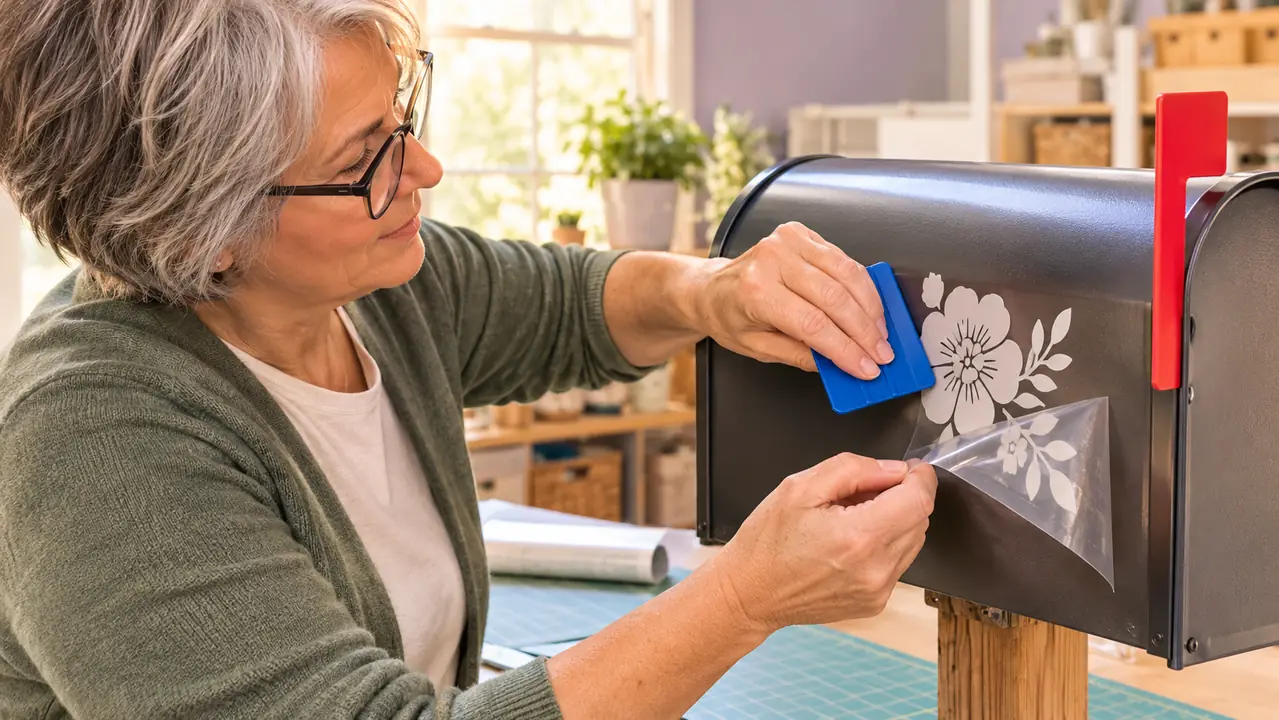
Cut a piece of transfer tape a little larger than the design. Lay it over the vinyl, starting at one edge and letting it fall across the letters. Rub over the whole thing with an old gift card or a squeegee. Use firm pressure, not a quick swipe. The tape needs to grab every letter, including the small ones. Then peel the tape back slowly, at a low angle, and watch the vinyl come with it.
If a letter stays on the backing, lay the tape back down and rub that spot again. Do not pull hard. A hard pull can stretch a thin stroke. Once the design is on the tape, you have a flexible decal that you can hold up to the mailbox before it touches metal. This is the moment to check the spacing and the height. You can still move it. Once it touches, it is down.
Trim any excess tape away from the design with scissors. Leave a little tab at one end to hold while you place it. That tab is what keeps your fingers off the adhesive. If you are working alone, a strip of tape across the top of the design can act as a hinge. Lay the decal in place, tape the top edge to the box, then flip it up and peel the backing away as you lower it. Two hands and a hinge is plenty for a job this small.
Step 5: Place it, press it, and leave it alone
Wipe the mailbox one more time with a dry cloth. Line the decal up with your pencil dots or your paper template. Set the top edge first and let the rest come down. Work from the center out with the gift card, pressing the vinyl onto the metal. Take the transfer tape off at a low angle, slowly. If a letter tries to come with the tape, press it back down and pull the tape flatter.
Rub the edges once more with your thumb or the card. Edges are what lift first. Then leave it alone. Sooez says not to wash the vinyl for 24 hours after application, and I follow that. I also keep my hands off it for the rest of the day. The listing rates the vinyl for up to 10 years indoors and 8 years outdoors. I cannot vouch for 10 years. I can vouch for seven months on Ruth's box, with no lifting and no fading that I can see.
A week later, walk out and look at it in daylight. Run your thumb along the bottom edge of each number. If a corner has lifted, press it back down while the metal is cool, and it will usually stay. If a number is crooked, it comes off with a little warmth from a hairdryer on low and a slow peel, and you can cut another. Mistakes on a mailbox are cheap to fix because the design is small. That is another reason to start here instead of on a car window.
That is the whole job. Clean, cut, weed, tape, place. The first one takes an afternoon if you are learning the software. The second one takes about an hour. The third one you can do while the coffee goes cold. Ruth's numbers were a quick job because I did not measure. Yours can be just as quick, and straighter, if you take the two minutes to mark a line. The mailbox is small enough to finish in one sitting, and that is the point. You do not need a second set of hands for a job this size.
What Else Helps
A few small things make the job easier. Sharp scissors for trimming the roll to the mat. A ruler and a pencil. A clean rag and a little rubbing alcohol. A desk lamp that you can pull close. A squeegee or an old gift card for burnishing. None of these need to be fancy. The tools I use most are the ones that were already in the house.
Transfer tape is worth having on hand. You can apply a small decal without it, but the tape keeps the spacing and keeps your fingers off the adhesive. I rub the tape down firmly and peel it slowly. That is the whole technique. A roll of transfer tape lasts a long time, and it is not the place to improvise with masking tape. Masking tape lets go at the wrong moment, and you end up with numbers that lean.
Skip the heat tools for this job. Permanent vinyl on a mailbox does not need heat. The adhesive is pressure sensitive. You press it down, you burnish the edges, and you leave it alone for a day. If the mailbox is in full sun, work in the morning or late afternoon. The metal will be cooler, and the vinyl will be easier to place. That is not a product rule. It is just easier on your hands.
The Sooez listing also calls the vinyl UV resistant. I have not tested that beyond one Tulsa summer and one fall, so I will not make a promise about color. What I can say is that the numbers on Ruth's box still look like the day I put them on. That is enough for a mailbox. I am not a tester. I am a retired school office worker with a folding table and a neighbor who wanted new numbers.
One more thing: keep the roll flat. The Sooez roll wants to curl, and a curled piece is harder to load straight. I cut a piece, lay it under a book overnight, and use it the next day. That is not a defect. It is just how a roll behaves. Flattening it takes no effort and saves you a fight at the machine. The same goes for storing it: the middle shelf of my wire rack, standing upright in a bin, keeps it out of the way and out of the sun.
One roll, one afternoon, one mailbox that stops looking tired
The Sooez Black Permanent Vinyl is the roll I keep on the middle shelf. If you are ready to try the mailbox, start with a piece you can trim to your mat and give yourself the afternoon. Check today's price on Amazon.
Amazon Check Today's Price on Amazon →